Welcome back to my blog!
Today I want to tell you about the foam art with nail, which has been on the web in the last few days.
Let’s start!
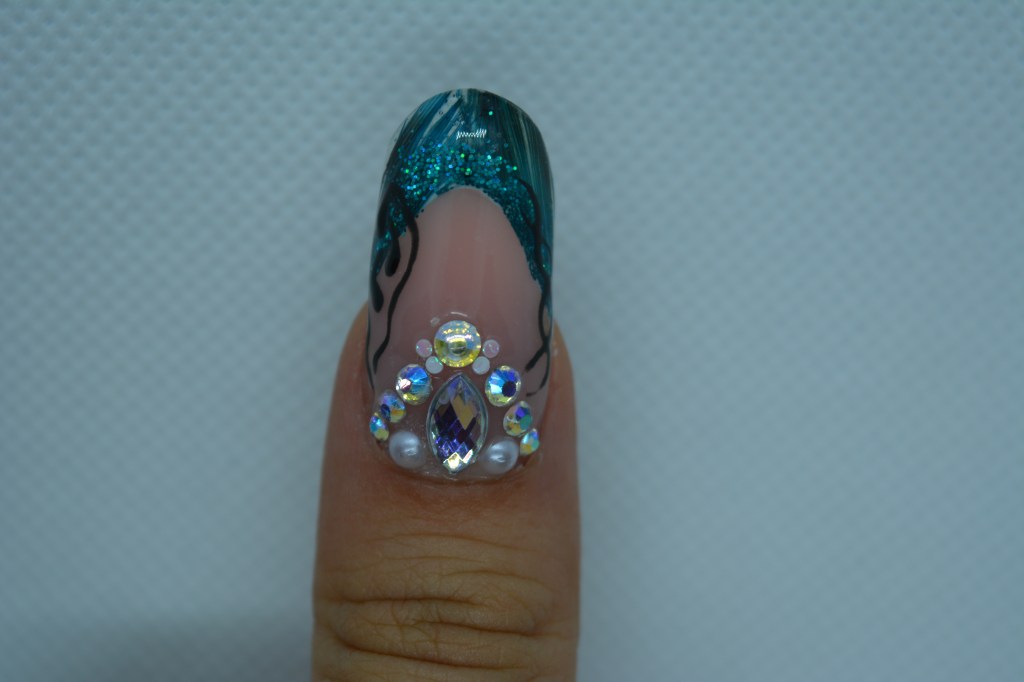
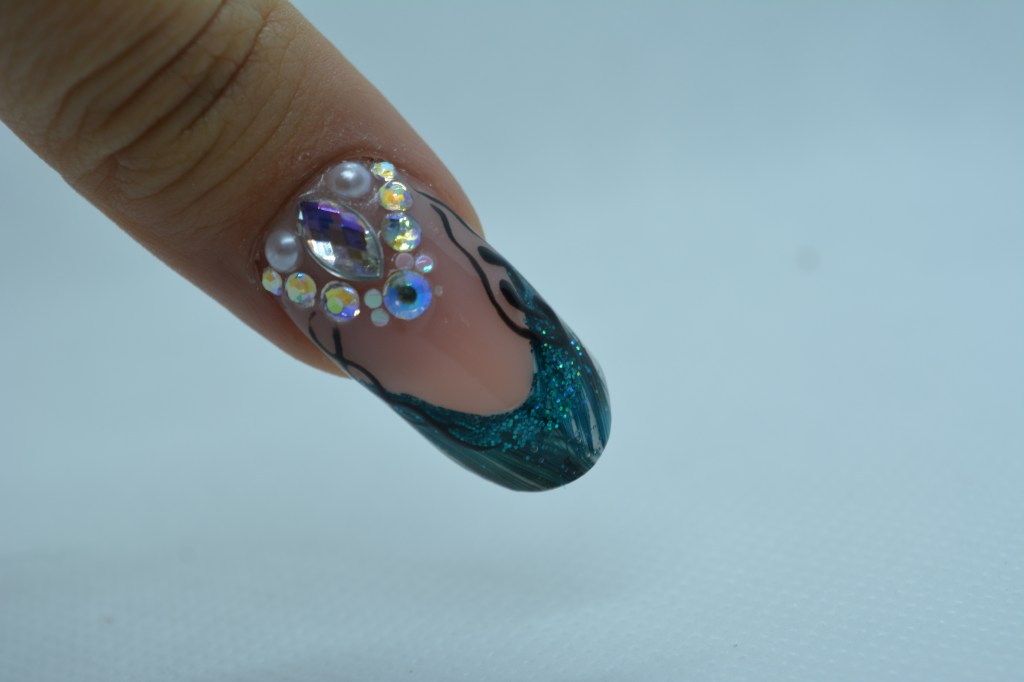
Nail art with gel


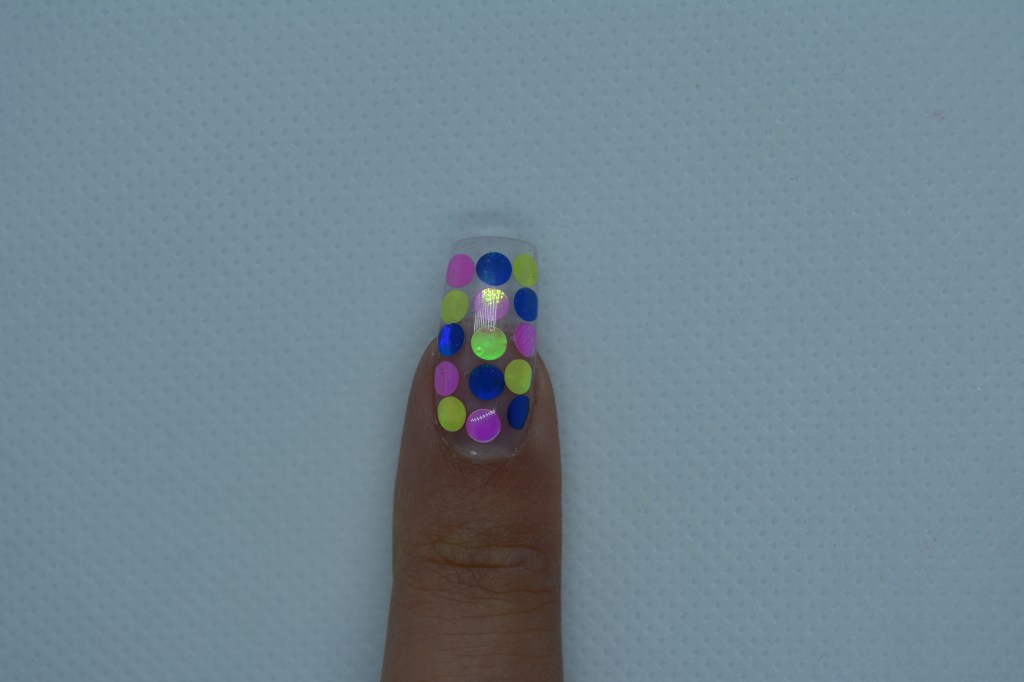
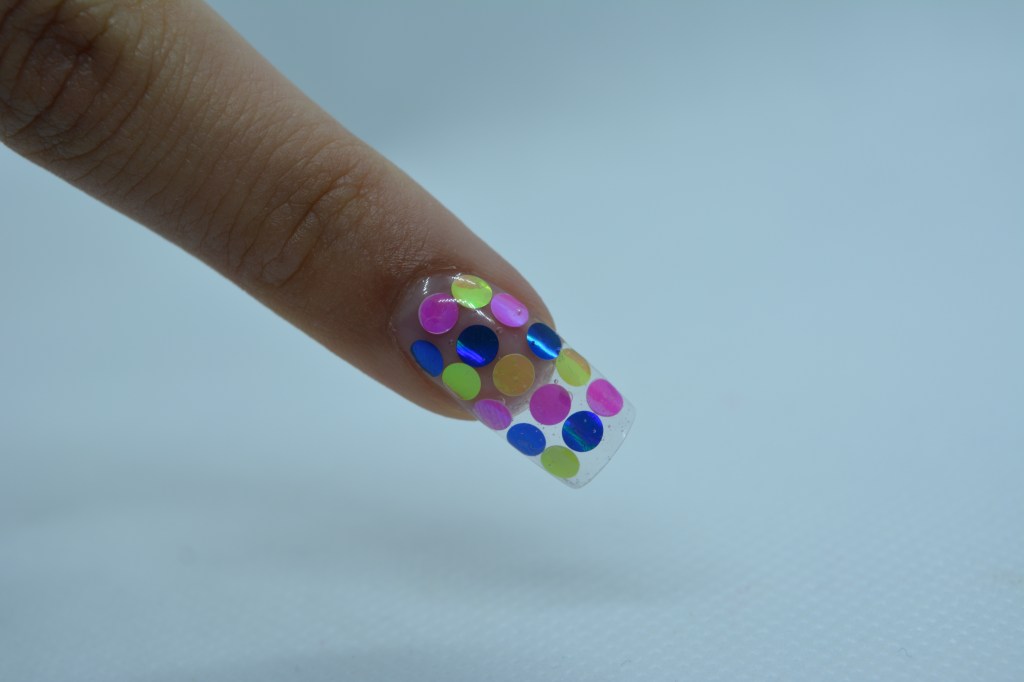
This is the nail art I’m talking about!
Surely you’ve seen it in many posts around the web and there are already several tutorials explaining how to do it.
In short, to create this effect, after applying a color of your choice and then a top coat without curing it, place the foam on the nail surface.
Once this is done, it polymerizes and you’re done!
If you want to see how it is done, on youtube you will surely find many ideas.
Nail art with nail polish
Then I asked myself:
Can it also be made with regular polish?
You know I like trying to make nail art that is created with gel even with normal nail polishes, as you may recall from the spider gel.
This time, unfortunately, it wasn’t very successful.
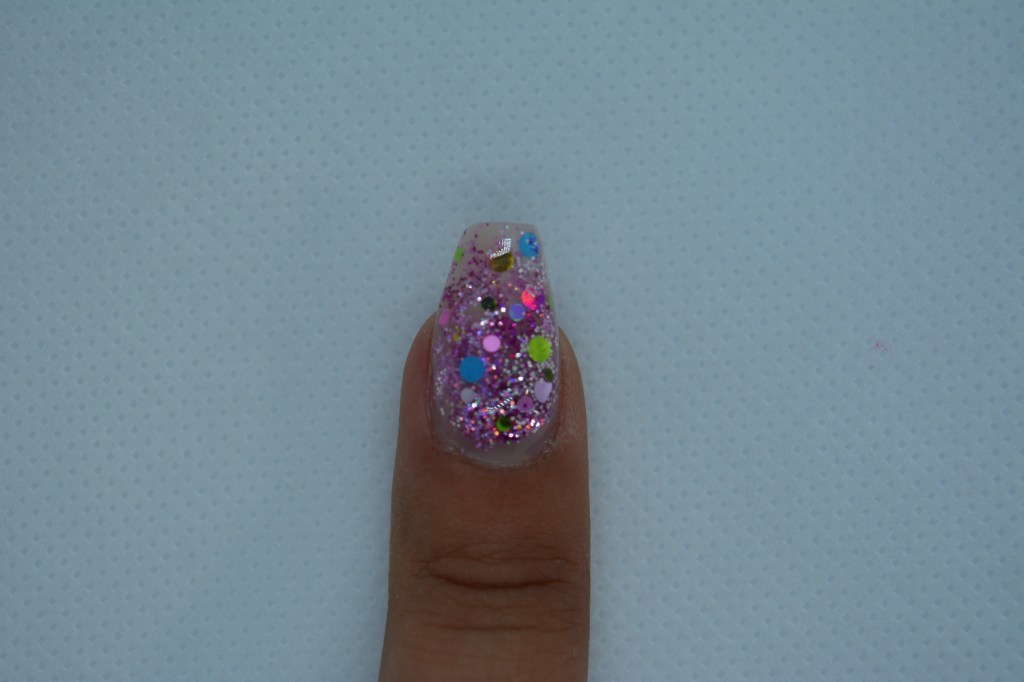
Realization
Also in this case, after applying the color, I put a rather abundant layer of top coat, and tried to apply the foam.
Here the problems started already. The foam slipped away, and even if I could make it stay, it melted immediately.
Probably this is given by the chemical composition of the polish which, perhaps reacting with soap, makes it melt.
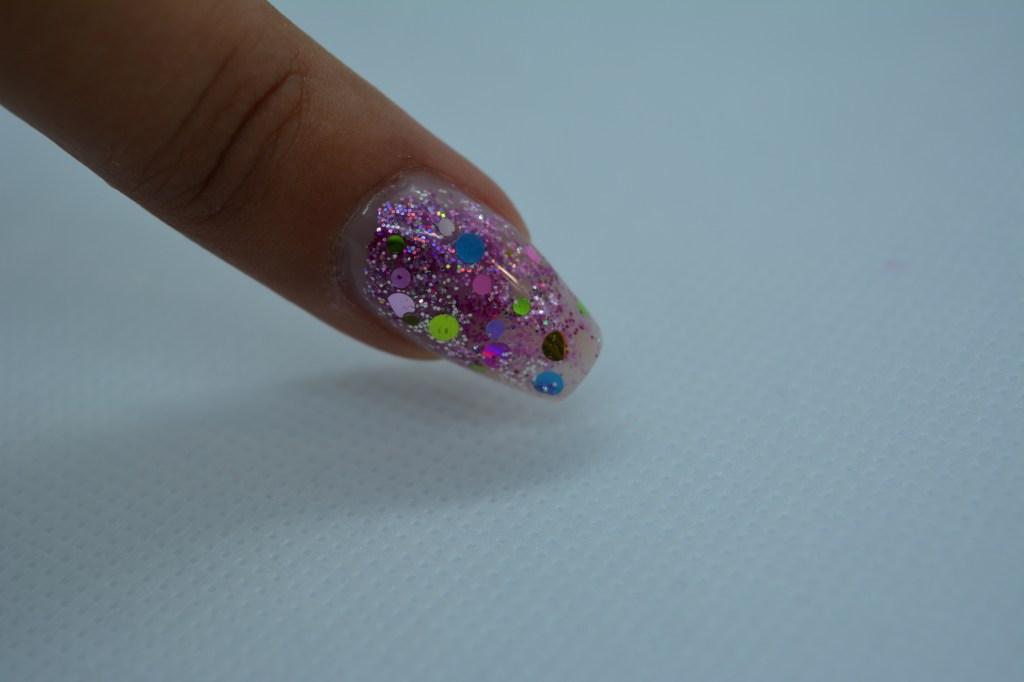
However, once the foam had disappeared, the effect remained slightly, but not as evident as with a top coat gel.
Also made with gels, this nail art is really fast and beautiful.
It took me about a quarter of an hour to do it with polishes without counting the eternal drying times.
Can it be done?
So it can be realized?
More or less I would answer.
The result is not the best, it takes a long time so I don’t know if it’s worth it.
Obviously if you want to try and you will succeed, let me know!
I leave you here the link of the video where I show the realization of this nail art, which unfortunately, I consider a failure.


If you liked this article, leave a like and share!
Don’t forget to follow me on Instagram and on my Youtube channel!
See you soon!
SOFIA