Archivi tag: nails

Under-glass effect Nail Art

Welcome back to my blog!

Today I want to show you possible nail art that can be created under glass.

Let’s start!

Under glass effect

As I had already explained in this article , the glass technique consists in creating a decoration below the apex.

Generally, to make this we use clear builders, so that we can perceive the depth of the decorations we have chosen.

Feather

In this nail I decided to create a deep and inverse french. In the bezel I applied a white color so that the blue color of the feather could stand out.

I then added some glitter, sealed it all with a transparent builder and added the final details.

Glitter

I propose this design again.

On a ballerina shape, I applied several types of glitter , but also colored rods . You may also notice the difference in depth between the various layers, which is what makes this style beautiful.

Confetti

The round shape of these decorations makes them look like confetti.

Here on a square shape, I applied the confetti following an order.

On my instagram you will see the mini-video where I polish this design, letting the beauty of these dots come out.

Gold leaf

On this important form, which is the stiletto, I applied below the apex the golden leaves, also in silver color.

These are the ideas I wanted to offer you today, if you follow me on instagram you will find my other works.

Today’s article ends here, I hope you enjoyed it and see you soon!

SOFIA

Nail Art effetto sottovetro

Bentornati sul mio blog!

Oggi voglio illustrarvi possibili nail art che si possono creare sottovetro.

Iniziamo!

Sottovetro

Come già avevo spiegato in questo articolo, la tecnica sottovetro consiste nel creare un decoro al di sotto della bombatura.

In genere per fare ciò si utilizzano dei builder clear, in modo che si possa percepire la profondità delle decorazioni da noi scelte.

Piuma

In questa unghia ho deciso di creare una french profonda e inversa. Nella lunetta ho applicato un colore bianco in modo che il colore azzurro della piuma potesse risaltare.

Ho poi aggiunto dei glitter, sigillato il tutto con un costruttore trasparente e aggiunto i dettagli finali.

Glitter

Ripropongo questo design.

Su una forma a ballerina, ho applicato parecchie tipologie di glitter, ma anche dei tondini colorati. Si può anche notare la differenza di profondità tra i vari strati, ed è ciò che rende bello questo stile.

Coriandoli

La forma tonda di queste decorazioni le fa assomigliare a dei coriandoli.

Qui su una forma squadrata, ho applicato seguendo un ordine i coriandoli.

Sul mio instagram potrete vedere il mini-video dove lucido questo design, facendo uscire la bellezza di questi pallini.

Foglia d’oro

Su quest’importante forma, che è lo stiletto, ho applicato al di sotto della bombatura delle foglie d’oro, anche in colorazione argentata.

Queste sono le idee che ho voluto proporvi oggi, se mi seguite su instagram troverete altri miei lavori.

L’articolo di oggi finisce qui, spero che vi sia piaciuto e alla prossima!

SOFIA

Other hacks and tricks for nails

Welcome back!

Today I want to talk about other hacks for nails, I leave you here the link of those of the last time.

Let’s start!

Spider gel

A novelty has recently come out, the spider gel.

This gel, as the name suggests, has a particular consistency, very thick and filamentous, like that of a spider web.

Using a dotter, dipping it in the jar, you can create straight lines or very beautiful and fast decorations.

If you have any doubts about how it works, on youtube will surely find many videos about it.

Thinking about this gel, I was reminded of something I already saw and then I realized what it was.

The simple polish, if left to dry in the open air, becomes almost sticky.

I then thought that the same effect could be achieved using polishes.

Just put some nail polish on a surface and wait a few minutes.

Later with a dotter you can pick it up and here is your favorite spider gel!

I made a video where I use this technique, I leave the link here.

Water Decal

Water decals are very thin nail stickers that work like tattoos for children.

Many companies recommend dipping them in water for a few seconds and then removing them from their paper and placing them on the nail.

Using them in this way, however, I noticed that they remain wet, which could prevent proper adhesion on the nail.

My advice is to wet a pad with water and then cover and put the water decal in contact with it. It will become damp, it will detach from its paper, without however being wet.

DIY Dotter

When I was younger I used a lot polishes but I needed the dotters to make decorations. At the time online shopping was not so widespread and not all stores had them.

I had thus found an alternative, which I could make myself at home.

The equipment is a pencil with the rubber on top and the pins for tailors, those with the colored head.

Everything is very simple: just stick the pin in the pencil’s rubber and here is your dotter! 😁

These were the other tricks that came to my mind, I hope they will serve you and like you.

If you liked this article, leave a like and share it!

SOFIA

Altri trucchetti per le unghie

Bentornati!

Oggi voglio parlarvi di altri truchetti per le unghie, vi lascio qua il link di quelli dell’altra volta.

Iniziamo!

Spider gel

Da poco tempo è uscita una novità, lo spider gel.

Questo gel come suggerisce il nome (spider in inglese è ragno) ha una consistenza particolare, molto densa e filamentosa, come quella di una ragnatela.

Utilizzando un dotter, immergendolo nel barattolino, si possono creare delle linee dritte, o comunque decori molto belli e veloci.

Se avete dei dubbi su come funziona, cercando su youtube troverete di sicuro molti video a riguardo.

Pensando a questo gel, mi veniva in mente un qualcosa di già visto e poi ho capito cosa fosse.

Il semplice smalto, se lasciato troppo all’aria aperta, secca, diventa quasi colloso.

Allora ho pensato che si potesse realizzare lo stesso effetto utilizzando lo smalto.

Basta appoggiare dello smalto su una superficie e attendere qualche minuto.

In seguito con un dotter lo si può prelevare ed ecco creato il vostro spider gel preferito!

Ho realizzato un video dove vi mostro come ho fatto, vi lascio qui il link.

Water Decal

I water decal sono degli adesivi per le unghie, molto sottili che funzionano come i tatuaggi per i bambini.

Molte aziende consigliano di immergerli per qualche secondo nell’acqua e poi rimuoverli dalla loro carta e adagiarli sull’unghia.

Utilizzandoli in questo modo ho però notato che rimangono come bagnati, e ciò potrebbe impedire una corretta adesione sull’unghia.

Il mio consiglio è quello di inumidire un pad con dell’acqua e poi coprire e mettere a contatto con esso il water decal. Esso si inumidirà, staccherà dalla sua carta, senza però risultare bagnato.

Dotter fai da te

Quando ero più piccola usavo moltissimo gli smalti normali solo che avevo bisogno dei dotter per creare delle decorazioni. Ai tempi lo shopping online non era così diffuso e non tutti i negozi li avevano.

Avevo così trovato un’alternativa, che potevo realizzare da sola a casa.

L’occorrente è una matita con la gommina sopra e i spilli per sarti, quelli con la capocchia colorata.

Il tutto è semplicissimo: basta incastrare lo spillo nella gomma della matita ed ecco fatto il vostro dotter!😁

Questi erano gli altri trucchetti che mi sono venuti in mente, spero vi serviranno e vi siano piaciuti.

Se questo articolo vi è piaciuto lasciate un like e condividete.

Non dimenticate di seguirmi su Instagram e sul mio canale YouTube!

Alla prossima!

SOFIA

Hacks for nails’ lover

Welcome back to my blog!

Today I want to tell you some tricks that maybe not everyone knows about the nail world!

Let’s start!

Nail polish removal with glitter

To add a bright touch to polishes, the ones studded with glitter are often used, which make a beautiful effect.

The problem arises while removing it.

We spend minutes rubbing with the cotton pad and acetone but the glitters remain attached as if they were glued with cement.

What to do then?

The method I use in these cases is to place the cotton pad on the nail, without rubbing it. Leave it there for about 5 minutes and then press it lightly to remove it.

This pack should facilitate the removal of the much loved but agonized glitter.

After removing everything, apply cuticle oil to moisturize the skin and nail.

If you want there are also glitter polishes that have a peel-off base, that lift up, so as to avoid problems during removal.

Polish lasting

When I applied polish on me people asked me if it was gel, seeing the luster but above all the duration.

In recent years, I often asked people how they applied nail polish and simply replied that they made two coats of color and that’s it.

For an optimal duration of simple polish, it is enough to have a base and a top coat.

I prefer separate bases and top coats instead of all in one.

Applying the base we prepare the nail, leveling it but above all giving it a base on which to cling.

After that apply two thin layers of color and make it dry at each step.

Furthermore, to avoid chipping, it is good to seal the polish to the free edge.

After drying the color, apply a well-laid layer of top coat and you’re done.

Maybe these steps can be obvious, but as I said before, not many people know that the base and the sealant greatly increase the lasting.

I also want to specify that the duration depends on the lifestyle of the people, and also on the underlying nails.

Brush cleaning

Now let’s talk about gel.

In order to use brushes to create layers of colors or decorations, we are forced to immerse them in the jar.

Once finished we use a paper towel to remove the color and the brush seems apparently clean.

But when we then immerse it in another color, we see that the previous one tends to come out.

So how do we get a paint to release completely from a brush?

You can buy the brush cleaner, a product specifically designed for cleaning brushes.

Or simply put on a surface a little bit of transparent gel or a top coat and rub the brush. Obviously you will see the various colors come out. Once the top coat is dirty, we dry the brush and repeat these steps until the top coat remains transparent.

These are the first tricks that I decided to offer you, the second part will be released soon.

If you liked the article, leave a like and share. If you have any questions or requests, do not hesitate to contact me.

See you soon!

SOFIA

Trucchetti per le unghie

Bentornati sul mio blog!

Oggi voglio esporvi alcuni trucchetti che magari non tutti conoscono per quanto riguarda il mondo delle unghie!

Iniziamo!

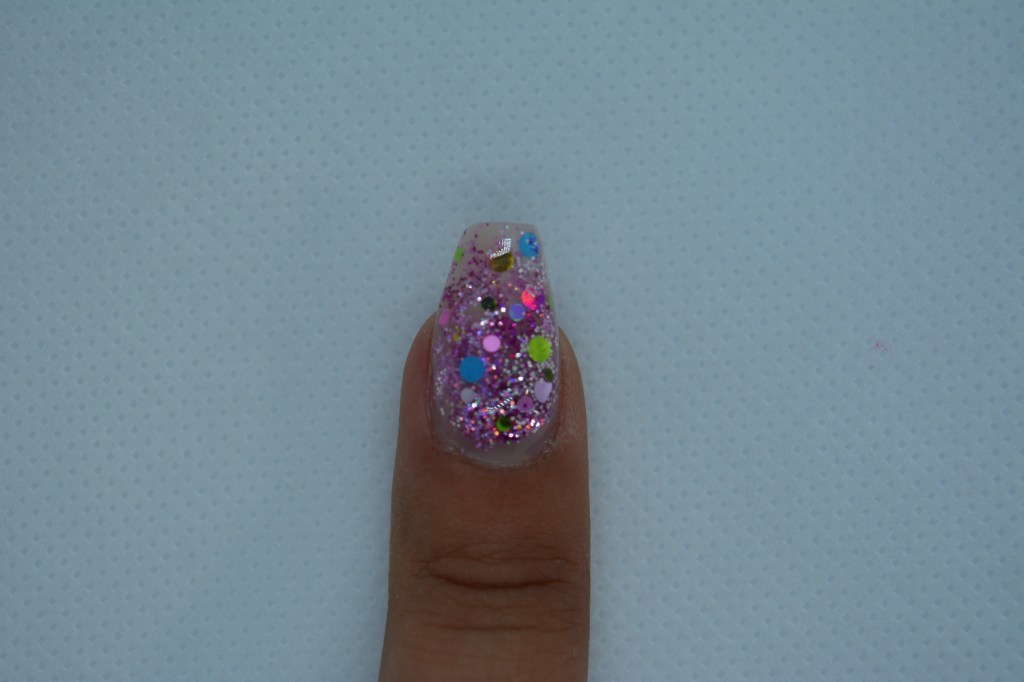
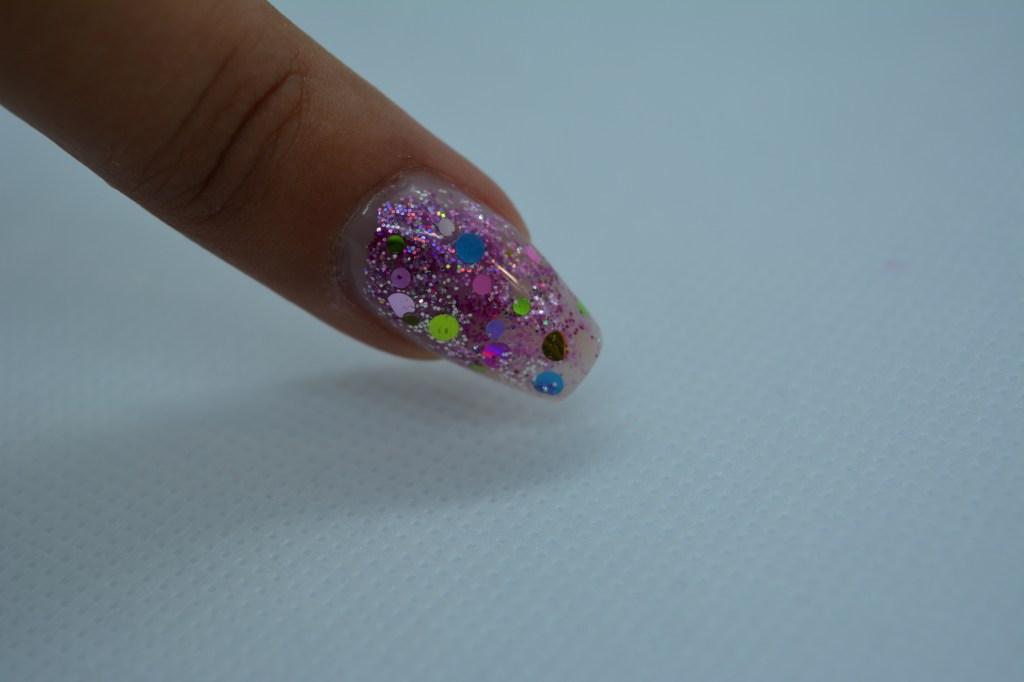
Rimozione smalto con i glitter

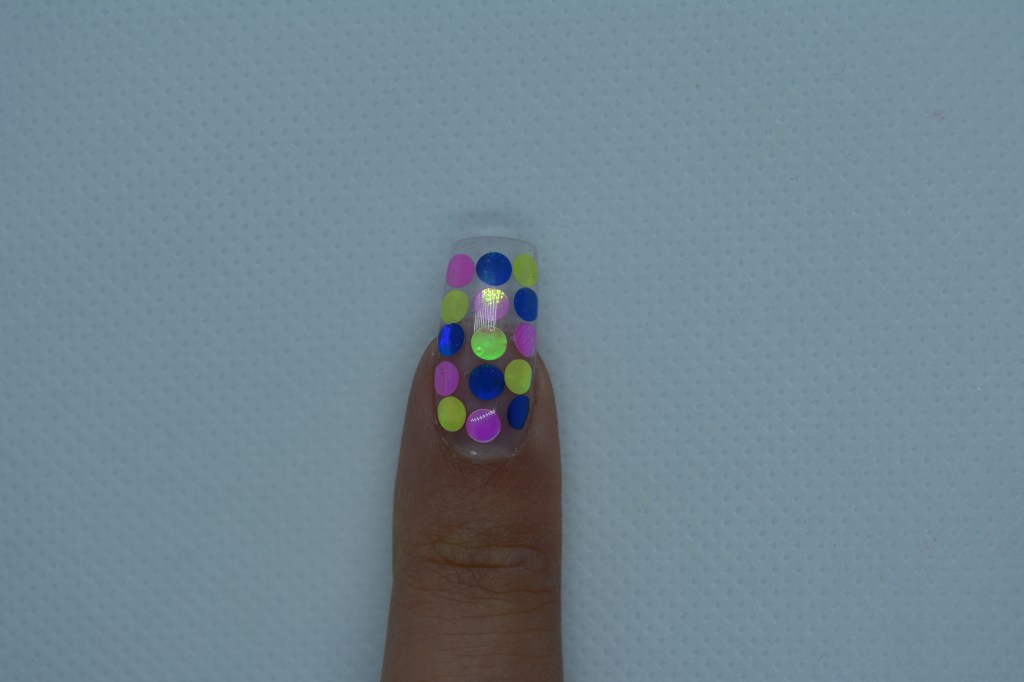
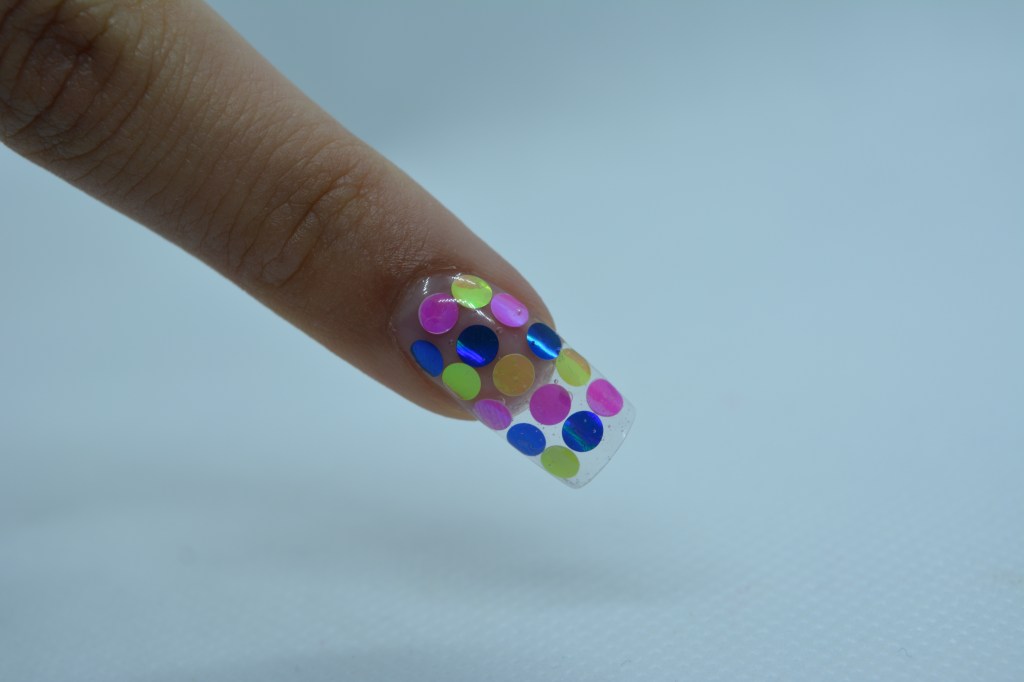
Per aggiungere un tocco luminoso allo smalto spesso si utilizzano quelli tempestati di glitter, che fanno un effetto bellissimo.

Il problema sorge durante la rimozione di esso.

Si passano minuti a strofinare con il dischetto di cotone e l’acetone ma i glitter rimangono attaccati come se fossero stati incollati con il cemento😂.

Cosa fare allora?

Il metodo che utilizzo io in questi casi è quello di appoggiare il dischetto di cotone sull’unghia, senza strofinarlo. Lasciarlo li per 5 minuti circa e poi facendo una leggera pressione rimuoverlo.

Questo impacco dovrebbe facilitare la rimozione dei tanto amati ma agognati glitter.

Dopo aver rimosso tutto, applicate l‘olio per le cuticole, per idratare bene la pelle e l’unghia.

Volendo in commercio hanno creato degli smalti glitter che hanno una base peel-off, ovvero che si solleva, in modo da evitare problemi durante la rimozione.

Durata dello smalto

Quando applicavo su di me lo smalto mi chiedevano se fosse gel, data la lucentezza ma soprattutto vedendo la durata.

In questi anni chiedevo spesso alla gente come applicavano lo smalto e mi rispondevano semplicemente che facevano due passate di colore e basta.

Per una durata ottimale del semplice smalto basta avere una base e un top coat.

Prediligo le basi e i top coat separati invece che quelli tutti in uno.

Applicando la base prepariamo l’unghia, livellandola ma soprattutto dandogli una base sulla quale aggrapparsi.

Dopo di che si applicano due strati sottili di colore, facendoli asciugare ad ogni passaggio.

Inoltre, per evitare sbeccature, è bene sigillare lo smalto al margine libero.

Dopo aver fatto asciugare il colore si applica uno strato ben steso di top coat e il gioco è fatto.

Magari questi passaggi possono essere scontati, ma come dicevo prima, non molti sanno che la base e il sigillante aumentano notevolmente la tenuta.

Voglio anche specificare che la durata dipende dallo stile di vita delle persone, e anche dalle unghie sottostanti.

Pulizia pennelli

Ora parliamo di gel.

Utilizzando i pennelli per realizzare strati di colori o decorazioni, siamo costrette ad immergerli nel barattolo.

Una volta finito utilizziamo uno scottex per rimuovere il colore e il pennello sembra apparentemente pulito.

Però quando poi lo andiamo ad immergere in un altro colore vediamo che tende ad uscire il colore precedente.

Come facciamo allora a far scaricare del tutto un colore da un pennello?

Si può acquistare il brush cleaner, un prodotto indicato apposta per la pulizia dei pennelli.

Oppure semplicemente poniamo su di una superficie del gel trasparente oppure un top coat e lì strofiniamo il pennello in questione. Ovviamente si vedranno i vari colori uscire. Una volta che il top coat è sporco, asciughiamo il pennello e ripetiamo questi passaggi finché il top coat rimarrà trasparente.

Questi sono i primi trucchetti che ho deciso di proporvi, prossimamente uscirà anche la seconda parte.

Se l’articolo vi è piaciuto lasciate un like e condividete. Se avete qualche domanda o richiesta, non esitate a contattarmi.

Se questo articolo vi è piaciuto lasciate un like e condividete.

Non dimenticate di seguirmi su Instagram e sul mio canale YouTube!

Alla prossima!

SOFIA

Dip Powder: Top or Flop?

Welcome back to my blog!
I know it’s been a long time since my last article, but between work and summer I decided to take a break.

So here I am back and today I am here to talk about another apparently innovative technique, which however hides things often unspoken.

Let’s start!

Dip powder method, what is it?

Like the acrygel combined with polyforms, the dip powder method has also spread widely on social media through advertisements, which showed an easy and fast method to have impeccable nails.

In practice we are talking about an acrylic powder that is used in a different way than usual. (Some brands work like a normal acrylic when combined with the monomer).

After applying the base, dip the finger in the powder, or dust it over, after which a product is used that serves to seal that layer and at the same time serves to be able to dip the nail again. (If the explanation is not very clear going to look on youtube there are several videos).

In this way the color and the hypothetical structure are obtained.

Finally an activator is used that hardens the acrylic powder, allowing the filing.
Because yes, this procedure is done on nails with tip previously applied, to seal the whole and create a structure, as well as the color.

Convenience?

This way it seems much more practical and faster than a nail form reconstruction, and you can do it at home by yourself.

But like polyforms, practicality approaches the incorrectness of the fundamental rules for a reconstruction.

As the dust is very thin, it is impossible to create a structure.
A reconstructed nail without a structure is bound to break.

Hygiene

We have often talked about how important hygiene and compliance with certain rules are to avoid nail diseases.

As I said before, this method involves dipping the nail in a jar containing the powder.

This speech I make refers to those who use this technique in salons. If I use the jar for personal purposes only, there is no problem.

You can understand that if a client has some sort of mycosis or bacterium, it will lodge in the powder jar, and the next client could be infected.

Then you could think about dusting the dust over the nail, not letting the dust fall back into the original jar.
For hygiene reasons, the dust must then be thrown away for each customer.

So returning to the previous discussion, is working in this way convenient?
In my opinion no.

Although it may appear faster and easier, the risks of breakage of the reconstruction and of possible infections from mycosis or bacteria are present.

Obviously in the commercials that run on social networks, all this is not explained, but to capture more attention it focuses on the speed and apparent convenience of the method.

Here we are at the end of the article, I hope you enjoyed it and clarified your ideas on the Dip Powder method.

Everything I say is about my personal opinion, nobody is forced to think like me.

If you liked it, leave a like and share.
Until next time!

SOFIA

Dip Powder: metodo funzionale o no?

Bentornati sul mio blog!
So che e passato parecchio tempo dal mio ultimo articolo, ma tra il lavoro e l’estate ho deciso di prendere una pausa.

Eccomi dunque ritornata e oggi sono qui per parlare di un’altra tecnica apparentemente innovativa, che però nasconde cose spesso non dette.
Iniziamo!

Metodo Dip powder, cos’è?

Cosi come l’acrygel accostato alle polyform, anche il metodo dip powder si è diffuso molto sui social attraverso le pubblicità, che mostravano un metodo facile e veloce per avere delle unghie impeccabili.

In pratica stiamo parlando di una polvere acrilica che viene utilizzata in modo diverso dal solito. (Alcune marche funzionano come un normale acrilico se abbinate al monomero).

Dopo aver applicato la base, si immerge il dito nella polvere, o la si spolvera al di sopra, dopo di che si usa un prodotto che serve a sigillare quello strato e allo stesso tempo serve per poter immergere nuovamente l’unghia. (Se non è molto chiara la spiegazione andando a cercare su youtube ci sono parecchi video).

Cosi facendo gradualmente si ottiene il colore e la ipotetica struttura.

Infine si utilizza un attivatore che fa indurire la polvere acrilica, consentendo la limatura.
Perché si, questo procedimento si fa su unghie con tip applicate precedentemente, per sigillare il tutto e creare una struttura, oltre che al colore.

Convenienza?

Detta così dunque sembra molto più pratico e veloce di una ricostruzione con cartina, e che si possa fare anche a casa da soli.

Però così come le polyform, la praticità si accosta alla scorrettezza delle regole fondamentali per una ricostruzione.

Essendo la polvere molto sottile, è impossibile creare una struttura.
Un’unghia ricostruita senza struttura è destinata a rompersi.

Igiene

Abbiamo parlato spesso di quanto sia importante l’igiene e il rispetto di certe regole per evitare malattie sulle unghie.

Come dicevo prima, questo metodo prevede l’immersione dell unghia in un barattolo contenente la polvere.

Questo discorso che faccio si riferisce a chi usa questa tecnica nei saloni. Se uso il barattolo solo per scopo personale non c’è problema.

Potete capire che se una cliente presenta qualche sorta di micosi o batterio, esso alloggerà nel barattolo di polvere, e la prossima cliente potrebbe essere contagiata.

Allora si potrebbe pensare appunto di spolverare la polvere sopra l’unghia, non facendo ricadere la polvere nel barattolo originale.
Per questioni igieniche quest ultima dovrà essere poi buttata per ogni cliente.

Ritornando quindi al discorso di prima, lavorare in questo modo conviene?
Secondo la mia opinione no.

Nonostante possa apparire più veloce e facile, i rischi di rotture della ricostruzione e di possibili contagi da funghi o batteri sono presenti.

Ovviamente negli spot che girano sui social, tutto ciò non viene spiegato, bensì per catturare più attenzione ci si focalizza sulla velocità e apparente convenienza del metodo.

Eccoci alla fine dell’articolo, spero che vi sia piaciuto e vi abbia chiarito le idee sul metodo Dip Powder.

Ogni cosa che dico riguarda la mia personale opinione, nessuno è costretto a pensarla come me.

Se questo articolo vi è piaciuto lasciate un like e condividete.

Non dimenticate di seguirmi su Instagram e sul mio canale YouTube!

Alla prossima!

SOFIA

Refill with me: From palm on the beach to French

Welcome back!

Today I want to offer you a new type of article!

I will show you the various steps of the refill with various photos.

Let’s start!

Before

This is the first of my nail: a reconstruction with tip, with a design created with gel colors.

This was the result, just created.

I kept it for 30 days, and then decided it was time for the refill.

Here’s how it looked.

Change Form

The first thing I chose to do was to shorten the nail and change its shape. I went from a square to a round one.

I ran it all with an 80 file.

Color Removal

The next step was to remove the color, lower the structure and eliminate any lifts. I also did this with an 80 file.

Nail preparation

After removing the old one, it’s time to prepare for the new product.

So I pushed and removed the cuticles, matted the new portion of nails and applied nail prep, primer and the base for the gel.

Questa immagine ha l'attributo alt vuoto; il nome del file è photo_2019-08-04_19-44-14-e1564944293672.jpg

Cover

Since I want to create a deep french (if you want to know the details I invite you to read my last article), it’s time to apply the pink gel cover.

Questa immagine ha l'attributo alt vuoto; il nome del file è photo_2019-08-04_19-45-22-e1564944432914.jpg

Filings

After curing and cleansing, I start giving a hint of structure and adjust the various volumes.

Questa immagine ha l'attributo alt vuoto; il nome del file è photo_2019-08-04_19-48-03-e1564944578790.jpg

French colored

Following the line already created with the cover, I apply the color to create the french edge.

Questa immagine ha l'attributo alt vuoto; il nome del file è photo_2019-08-04_19-50-32-e1564944920833.jpg

Glitter

In order not to make the french boring, I decide to apply glitter at will.

Questa immagine ha l'attributo alt vuoto; il nome del file è photo_2019-08-04_19-50-37-e1564944946803.jpg

Clear builder

To seal the color and mix it with the cover, I make a layer of clear gel builder over the entire nail, and once cured, I finish filing it, to get the right structure.

Questa immagine ha l'attributo alt vuoto; il nome del file è photo_2019-08-04_19-50-41-e1564944990884.jpg

Top Coat

Once all the steps have been completed, it is time to polish and seal the nail.

Once this step is done, Design can also be finished but if you follow me for a while you can imagine that sober things are not for me in fact ..

Questa immagine ha l'attributo alt vuoto; il nome del file è photo_2019-08-04_19-50-46-e1564945305377.jpg

Decorations

I also decided to apply some decorations, including a bead and some rhinestones.

Not happy, I also designed doodles with white.

After

And here is the final result.

Although my nails are all different, they are not bad between them, because they are all full of sparkle ✨😂.

That’s all, I hope you enjoyed this new type of article.

If you want to leave like it, share it and see you soon!

SOFIA

Refill con me: Da palma sulla spiaggia a French

Bentornati!

Oggi voglio proporvi un nuovo tipo di articolo!

Mostrerò con voi i vari passaggi del refill con varie foto.

Iniziamo!

Prima

Questo è il prima della mia unghia: una ricostruzione con tip, con disegno creato con colori in gel.

Questo era il risultato, appena creata.

L’ho tenuta per 30 giorni, e poi ho deciso che era ora del refill.

Ecco come appariva.

Cambio Forma

La prima cosa che ho scelto di fare è stata quella di accorciare l’unghia e cambiarle la forma. Sono passata da una quadrata ad una rotonda.

Ho eseguito il tutto con una lima 80.

Rimozione colore

Il prossimo passaggio è stato quello di rimuovere il colore, abbassare la struttura ed eliminare aventuali sollevamenti. Anche questo l’ho fatto con una lima 80.

Preparazione dell’unghia

Dopo aver rimosso il vecchio, è ora di preparare per il nuovo prodotto.

Quindi ho spinto ed eliminato le cuticole, opacizzato la nuova porzione di unghie ed applicato nail prep, primer e base gel.

Cover

Siccome voglio creare una french profonda (se volete conoscere i dettagli vi invito a leggere il mio ultimo articolo), è il momento di applicare il gel cover rosa.

Limatura

Dopo aver polimerizzato e sgrassato, inizio a dare un accenno di struttura e aggiusto i vari volumi.

French colorato

Seguendo la linea già creata con il cover, applico il colore per creare la lunetta della french.

Glitter

Per non rendere noiosa la french, decido di applicare dei glitter a piacimento.

Builder clear

Per sigillare il colore ed amalgamarlo con il cover, faccio uno strato di builder gel trasparente su tutta l’unghia, e una volta polimerizzato, finisco di limarlo, per ottenere la giusta struttura.

Lucido

Una volta conclusi tutti i passaggi è il momento di lucidare e sigillare l’unghia.

Una volta fatto questo passaggio il Design può anche essere concluso ma se mi seguite da un po’ potete immaginare che le cose sobrie non fanno per me infatti..

Decorazioni

Ho deciso di applicare anche delle decorazioni, tra cui una perlina e degli strass.

Non contenta ho disegnato anche dei ghirigori con il bianco.

Dopo

Ed ecco il risultato finale.

Nonostante le mie unghie siano tutte diverse, tra di loro non stanno male, perchè tutte piene di scintillio ✨😂.

Con questo è tutto, spero che questo nuovo tipo di articolo vi sia piaciuto.

Se volete lasciate un mi piace, condividete e alla prossima!

SOFIA