Welcome back to my blog!
Today I want to talk to you about something that customers often ask themselves.
What shape can I choose for my hands?
Let’s start!
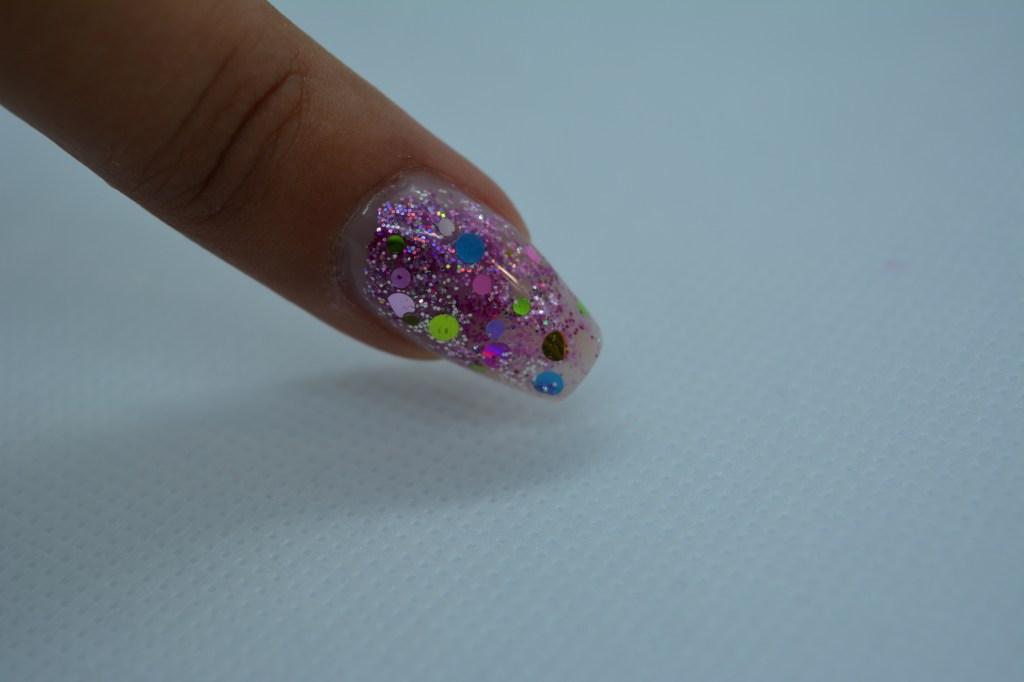
Oval
This form is suitable for those with a wide nail bed and a rather large hand.
This shape helps the hand to appear more tapered and is an excellent shape for those who want to wear short nails.
In fact this shape makes the hand softer, they are perfect for a natural look and are easy to make.


Almond
The almond is very similar to the oval.
This is suitable for those with slightly squat and short fingers, because the tapered and delicate tip will allow your fingers to slender.
The almond can be made both of medium-short length, but also quite long.


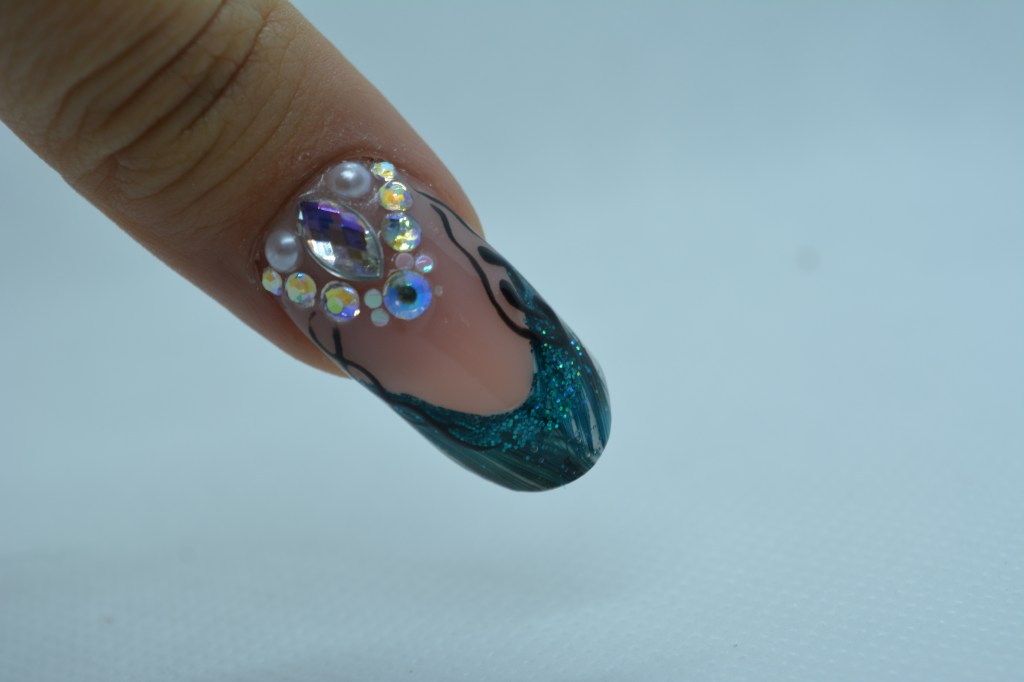
Stiletto
The stiletto nails, look like a very long and pointed almond.
Certainly one must be used to wearing long nails: the stiletto must have a minimum of 3 centimeters in length !!
They are therefore suitable for lovers of extravagant nails, but also for those with chubby hands, because their length will tend to make them loose.


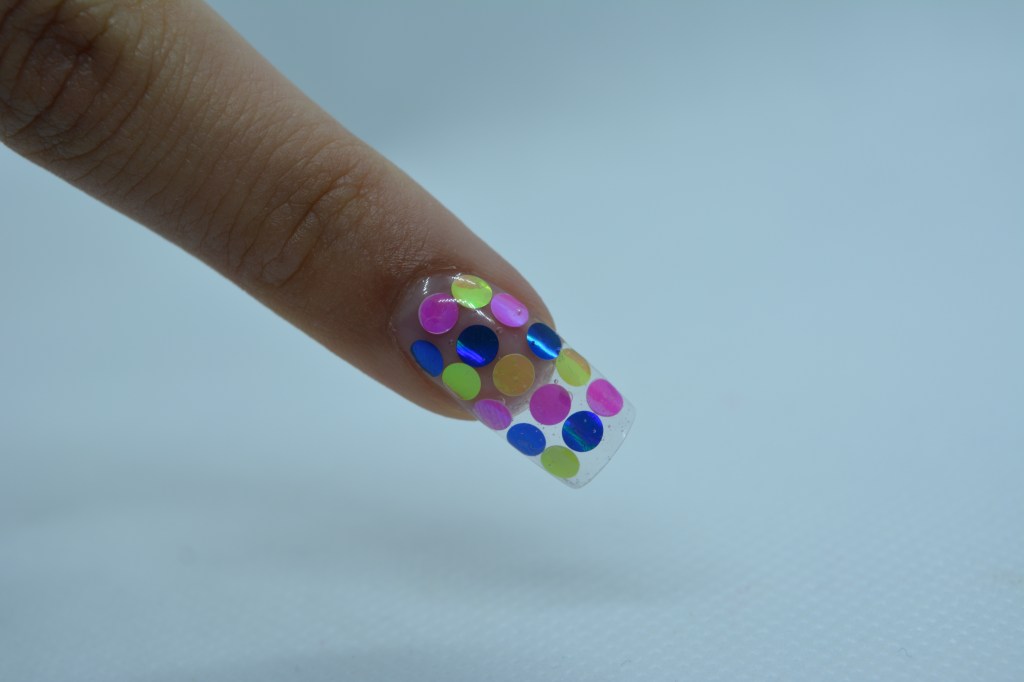
Square / Marylin / Ballerina
These types of nails have the characteristic of having a straight tip.
They are not recommended for those who already have a small, squat hand because the straight tip will optically cut the length of the finger.
So they will go well on the already long and beautiful tapered hands.


Extreme shapes
The extreme forms like the Edge, the Cube, Russian Almond and Gothic Almond are beautiful, in my opinion only for exposure.
They are very long, difficult to carry and difficult to make.
If you want to have them for a day, then ok, but in everyday life they would be a bit difficult to manage.


edge 
I hope this brief but concise article may have helped you.
If you liked this article, don’t forget to leave a like and share.
Follow me on Instagram and Youtube !
See you soon!
SOFIA