Bentornati sul mio blog!
Oggi nuovo articolo, ed è un aggiornamento sulla tenuta dei prodotti Trebosi.
Intanto vi lascio qui il link del loro sito.
Se vi ricordate qualche articolo fa, vi ho mostrato come applicare lo smalto semipermanente e mi sono aiutata con i prodotti di questa azienda.
Li ho tenuti su per 15 giorni, ora vi mostro il risultato e vi do le mie considerazioni finali.
Iniziamo!
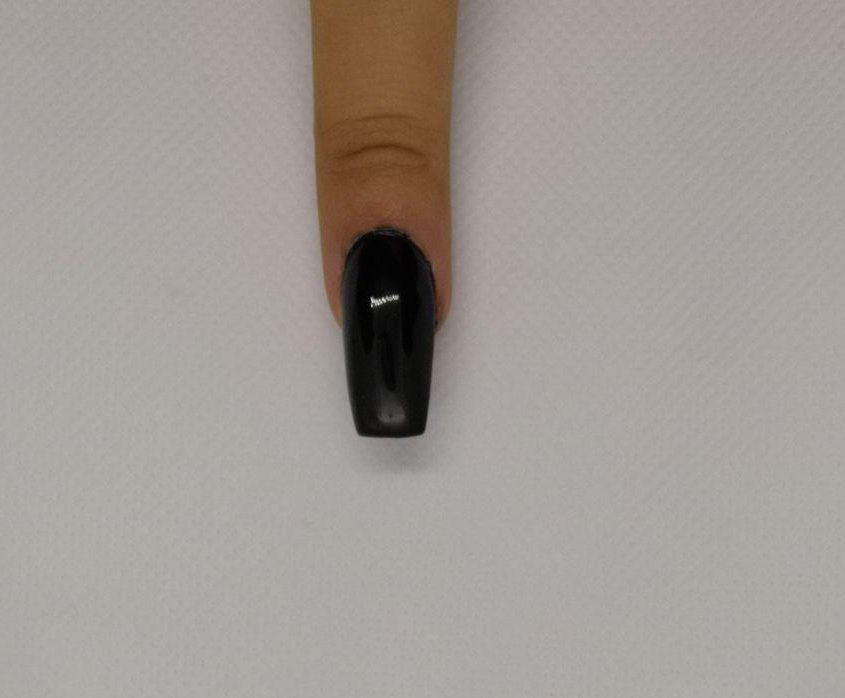
Appena fatte

Ecco qua le unghie appena realizzate, non ho molto da commentare perché appunto avevo spiegato tutto nell’articolo precedente.
7 giorni dopo

Questo è lo stato delle unghie dopo 7 giorni.
Sono ancora molto lucide e i glitter sull’anulare reggono bene.
Le mie unghie iniziano a mostrare un po’ di ricrescita e non si evidenziano sbeccature.
15 giorni dopo


Ecco qua le unghie dopo 15 giorni.
Ho deciso di terminare qui il test perché ipoteticamente il trattamento dello smalto semipermanente è garantito per 15 giorni.
Certamente queste unghie avrebbero tenuto per altri giorni però è giusto sapere che in media la durata è questa.
Considerazioni finali
Come potete vedere anche voi, il prodotto ha retto benissimo.
Partiamo dal presupposto che generalmente io applico sempre i preparatori, come nail prep e primer.
Questa volta ho deciso di testare la durata dei prodotti usando solo il cleaner che mi hanno inviato.
Vedete anche voi che le unghie non presentano sollevamenti e neanche sbeccature sulla punta.
Ciò oltre ai preparatori è dovuto anche al fatto che ad ogni passaggio ho sigillato bene in punta il prodotto.
Come semipermanente non è rigido, bensì flessibile e ha seguito molto bene il crescere della mia unghia, senza separarsi da essa.
I glitter effetto zucchero ovviamente un po’ sono caduti durante i 15 giorni, ma la maggiorparte erano ancora su, e soprattutto molto brillanti.
Vorrei parlare ora del lucido.
Nonostante io durante questi giorni abbia usato la lima e mi sia spesso graffiata le unghie, devo dire che ha resistito molto bene, e pulendole con un po’ di cleaner se necessario, tornavano molto brillanti.
Io ho rimosso questo prodotto con la lima e non voleva staccarsi😂, questo per farvi capire che avrei potuto tenerlo pure per più di 15 giorni senza problemi.
Si poteva anche rimuovere con il remover.
In generale quindi, se siete alla ricerca di un ottimo kit per farvi il semipermanente a casa, mi sento di consigliarvi i prodotti dell’azienda Trebosi, perché sono molto performanti e hanno un’ottima durata.
Inoltre come già dicevo la volta scorsa sono anche facili da lavorare durante l’applicazione.
Quindi per me questi prodotti sono approvati, sicuramente continuerò a testarli e nel caso vi farò sapere con altri aggiornamenti.
Ultime cose che voglio ribadire per avere un’ottima durata del prodotto sono:
-stendete questi prodotti molto pigmentati in modo sottile, in modo che catalizzino perfettamente tra uno strato e l’altro
-sigillate ad ogni passaggio in punta in modo da proteggerla e non far scheggiare il prodotto.
Vi lascio di nuovo tutti i link dei prodotti utilizzati, così se avete piacere potete andare a dargli un occhio.
Cleaner
https://trebosi.com/rimuovi-dispersione-cleaner-250ml.html
Base e Top 2 in 1
https://trebosi.com/base-e-lucido-2in1-donna.html
Colore
https://trebosi.com/semipermanente-donna-jenny.html
Buffer
https://trebosi.com/buffer-bianco.html
Glitter
https://trebosi.com/polvere-glitter-orange-juice.html
Se vi interessa trovate un video Youtube e un IGTV dove applico questo prodotto.
Questo articolo finisce qui, spero vi sia stato utile.
Se questo articolo vi è piaciuto lasciate un like e condividete.
Non dimenticate di seguirmi su Instagram e sul mio canale YouTube!
Alla prossima!
SOFIA