Ciao a tutti e bentornati sul mio blog!
Come promesso, oggi vi mostro come si sono comportati i semipermanenti della Trebosi sulle unghie ricostruite. Se vi siete persi l’articolo dove le realizzo, vi lascio qui il link!
Iniziamo!
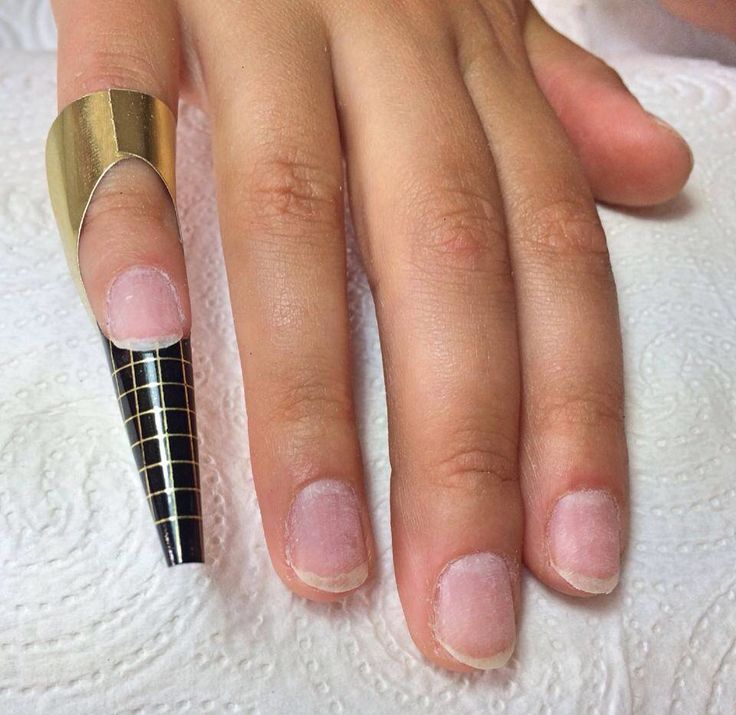
Appena realizzate

Ecco le unghie appena realizzate. Non mi dilungo troppo perchè già ne abbiamo parlato nell’articolo precedente.
1 settimana dopo

Queste sono le unghie dopo una settimana. A parte la ricrescita dell’unghia, devo dire che sono invariate, sia nel colore che nel lucido, e questo è un buon segno. Proseguiamo.
2 settimane dopo


La ricrescita aumenta, ma i prodotti della Trebosi restano li, niente li smuove😂.
Come potete vedere anche voi sono ancora perfettamente lucide.
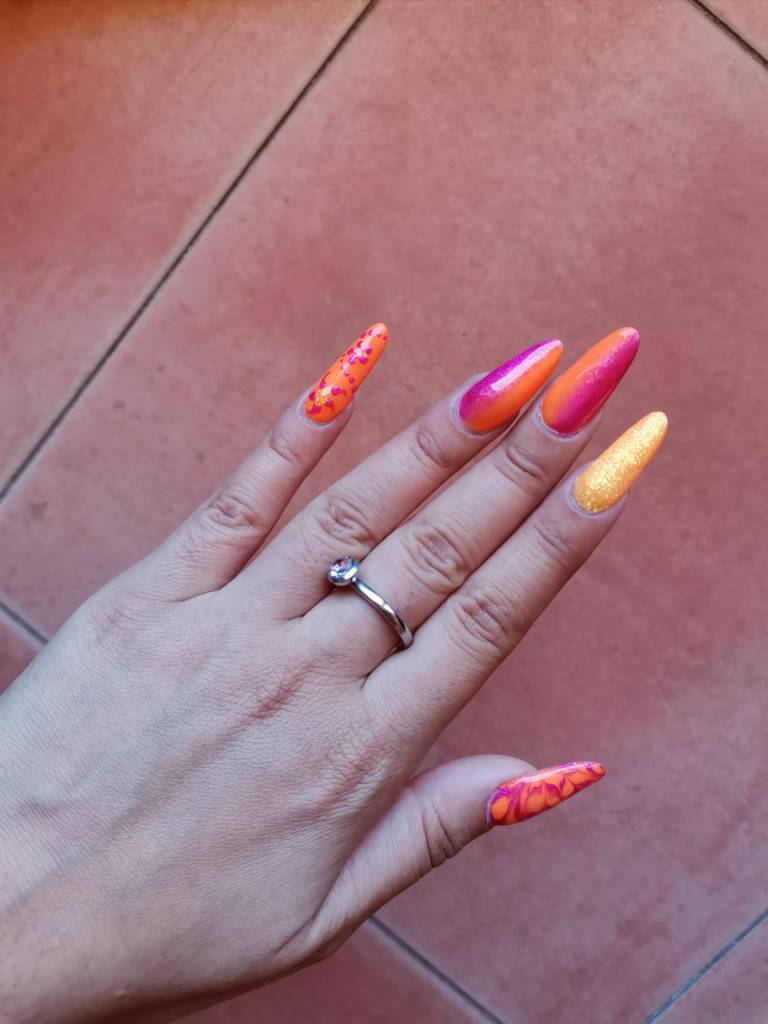
3 settimane dopo


Ecco qua le unghie alla scadenza. Il mignolo mi ha abbandonato, ma a noi non importa tanto la struttura, quanto l’evoluzione e il test sui semipermanenti.
Vedete anche voi che sono perfette, quindi passiamo alle considerazioni finali.
Considerazioni finali
Devo dire che sono molto soddisfatta di questi prodotti.
Comincerei facendo i complimenti all’azienda sia per la qualità dei prodotti, ma anche per la scelta dei colori. Mi hanno fatto tantissimi complimenti per queste unghie e io ovviamente facevo il loro nome.
Passiamo ai prodotti.
Questi colori non si sono scoloriti, rimanendo per tre settimane invariati.
L’arancione mi preoccupava perché è un colore fluo.
Siamo d’estate e potrebbe capitare che con il sole, alcuni colori, soprattutto quelli chiari o quelli fluo si possano scolorire o cambiare addirittura colore, invece vedete pure voi che questi sono identici.
Volevo anche farvi notare che il colore non si è sbeccato o comunque non si è sollevato dalle unghie ricostruite.
Per quanto riguarda i glitter dell’effetto zucchero, ovviamente un po’ si sono levati rispetto all’inizio, ma con la loro grana fine sono rimasti ben attaccati all’unghia. Inoltre nonostante la vita quotidiana con esse, non hanno perso luminosità.
Per quanto riguarda il lucido, sono estremamente soddisfatta. In tre settimane è rimasto come appena messo, senza graffi o senza opacizzarsi.
Devo dire che spesso sono andata al mare e li c’è la sabbia che potrebbe graffiarlo, ho usato le lime senza proteggere quelle unghie, magari le ho graffiate ma esse non presentano segni evidenti.
Facendo pulizie o lavando piatti non sempre ho usato i guanti ed esse non si sono opacizzate.
Nelle prossime unghie che farò, anche ricostruite, lo riuserò, mi è piaciuto molto.
Quindi questi prodotti sono promossi a pieni voti.
Ringrazio come sempre l’azienda Trebosi per avermi fatto provare i loro prodotti.
Ho anche realizzato un video Youtube dove smonto queste unghie, vi lascio qui il link!
Link Utili
Qua sotto vi lascio tutti i link dei prodotti di cui parlo, così se foste interessate potete andare a dare un’occhiata.
Cleaner
https://trebosi.com/rimuovi-dispersione-cleaner-250ml.html
Base e Top 2 in 1
https://trebosi.com/base-e-lucido-2in1-donna.html
Colore arancione
https://rebrand.ly/semipermanente-donna-jenny
Colore Fucsia
https://rebrand.ly/semi-chrisel
Buffer
https://trebosi.com/buffer-bianco.html
Glitter arancioni
https://trebosi.com/polvere-glitter-orange-juice.html
Glitter gialli
https://trebosi.com/polvere-glitter-giallo-titti-fluo.html
L’articolo di oggi termina qui, grazie mille per la lettura.
Se questo articolo vi è piaciuto lasciate un like e condividete.
Non dimenticate di seguirmi su Instagram e sul mio canale YouTube!
Alla prossima!
SOFIA