La Nail art durante i vari decenni: dagli anni '20 ai nostri giorni

Bentornati su un nuovo articolo!

Oggi voglio parlarvi delle varie nail art e mode che abbiamo visto durante i decenni, dalla nascita di smalti e prodotti per ricostruzione fino ai giorni nostri.

Iniziamo!

Anni 20

Durante questa decade fu inventato un prodotto che serviva a lucidare le unghie naturali.

Bastava strofinare questa polverina sull’unghia con un pezzo di pelle di daino sull’unghia.

Anche gli smalti colorati iniziavano a fare la loro apparsa, e la nail art più comune in questi anni ruggenti era quella a mezzaluna, o Moon Manicure.

Basta ricoprire tutta l’unghia con il colore desiderato, lasciando scoperto solamente un punto, ovvero quello dove si trova la lunula dell’unghia.

Anni 30

Durante questi anni iniziano a nascere parecchie case cosmetiche che sono arrivate fino ad oggi.

La loro produzione si concentrava dunque su smalti colorati e makeup.

Andava di moda abbinare il rossetto al colore delle unghie.

Gli smalti con formula opaca iniziavano a farsi strada e le prime unghie finte furono inventate.

Come nail art troviamo le unghie con una forma a mandorla, con una linea sottile sul margine libero, creata con l’argento.

Anni 40

Durante questa decade si vedono due tipi di nail art.

Le attrici del grande cinema portavano sulle loro scene unghie abbastanza lunghe rosse e a mandorla.

Invece le lavoratrici comuni per comodità preferivano mantenere le unghie corte e con colori naturali.

Anni 50

Da questo periodo in poi si ha una svolta nel mondo delle unghie.

Viene formulato l’acrilico e inventate le tip, in modo da poter eseguire allungamenti delle unghie naturali.

Come tendenza nail art invece si rimane sempre sull’unghia a mandorla e ovale, con colori rosso-arancionati.

Anni 60

La ricostruzione unghie ha sempre più successo e molte donne desiderano curare le proprie unghie.

Si fanno largo i colori perlati e shimmer, e le unghie iniziano ad avere una forma più squadrata, per avere qualcosa diverso dal solito.

Anni 70

Durante questi anni vengono progettati i primi prodotti fotoindurenti ma bisognerà aspettare fino agli anni 90 per la nascita dei gel.

Nasce la famosissima french manicure.

Quest’unghia dal colore rosato con il bianco sul margine libero risulta molto versatile e adatto a tutti i tipi di look.

Anni 80

Questi sono gli anni più colorati ed eccentrici per quanto riguarda la moda, e anche le unghie seguono questo esempio.

La forma prediletta è lo squoval, un mix tra quadrata e ovale e ovviamente i colori più usati sono quelli vivaci, fluo e accesi.

Le cantanti pop del momento erano di ispirazione con i loro look super vistosi.

Inoltre inventano le unghie Press on, ovvero unghie finte già decorate da applicare con una colla adesiva.

Anni 90

Ci stiamo avvicinando sempre di più ai nostri tempi.

Come ho detto prima è durante questi anni che si avrà un completamento della formula del gel, e quindi sarà rilasciato sul mercato.

Per le nail art ci sono due tendenze prevalenti.

Le più semplici sono unghie corte e con colori scuri.

Invece le più estreme sono ricostruite con le tip, molto lunghe, tanto che tendono a curvare verso il basso, con decorazioni estrose.

Anni 2000

Le decorazioni sulle unghie iniziano ad essere varie, come foil, adesivi, smalti con formulazioni particolari.

Si seguiva molto lo stile hip hop, e le unghie stavano diventando un modo per poter esprimere se stessi.

Oggi

Oggi abbiamo davvero una vasta scelta di prodotti e colori da scegliere.

Anche in questo caso le tendenze sono due.

Abbiamo le unghie da salone, quindi molto semplici, con una lunghezza naturale che non stufano mai e si abbinano alla vita di tutti i giorni.

Il french si è trasformato e invece di essere così definito, è diventato una sfumatura, prendendo il nome di baby boomer.

Dall’altra parte abbiamo anche unghie dalla lunghezza e dalla forma estrema, con decorazioni molto elaborate e sofisticate.

Eccoci arrivati alla fine di questo articolo.

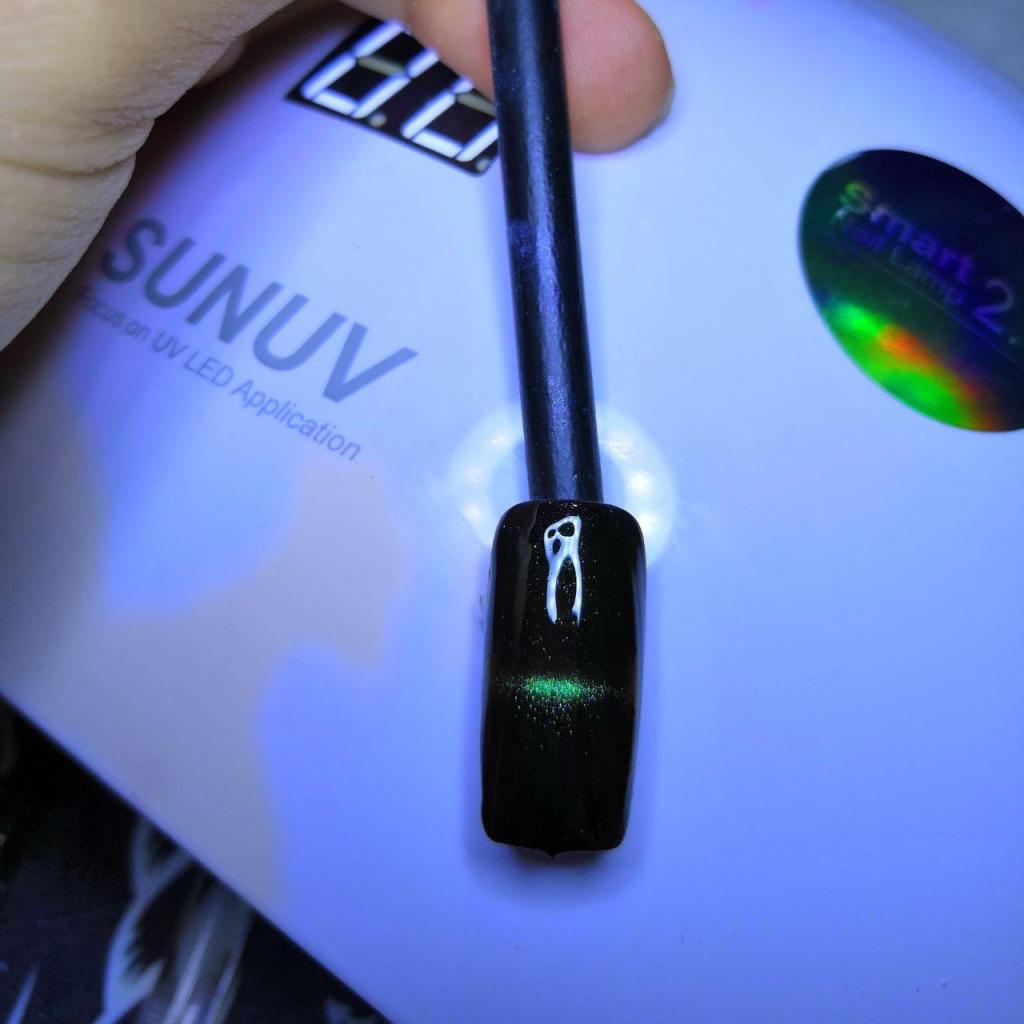
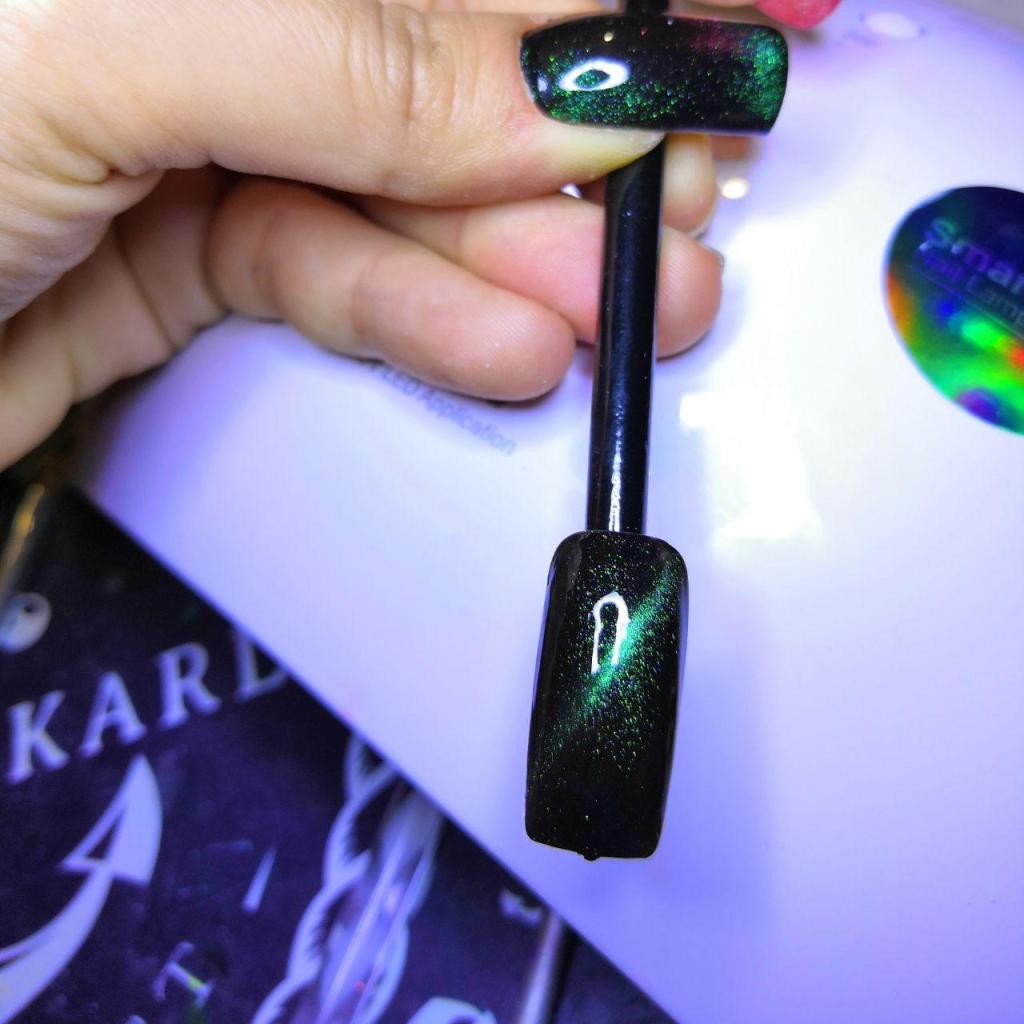
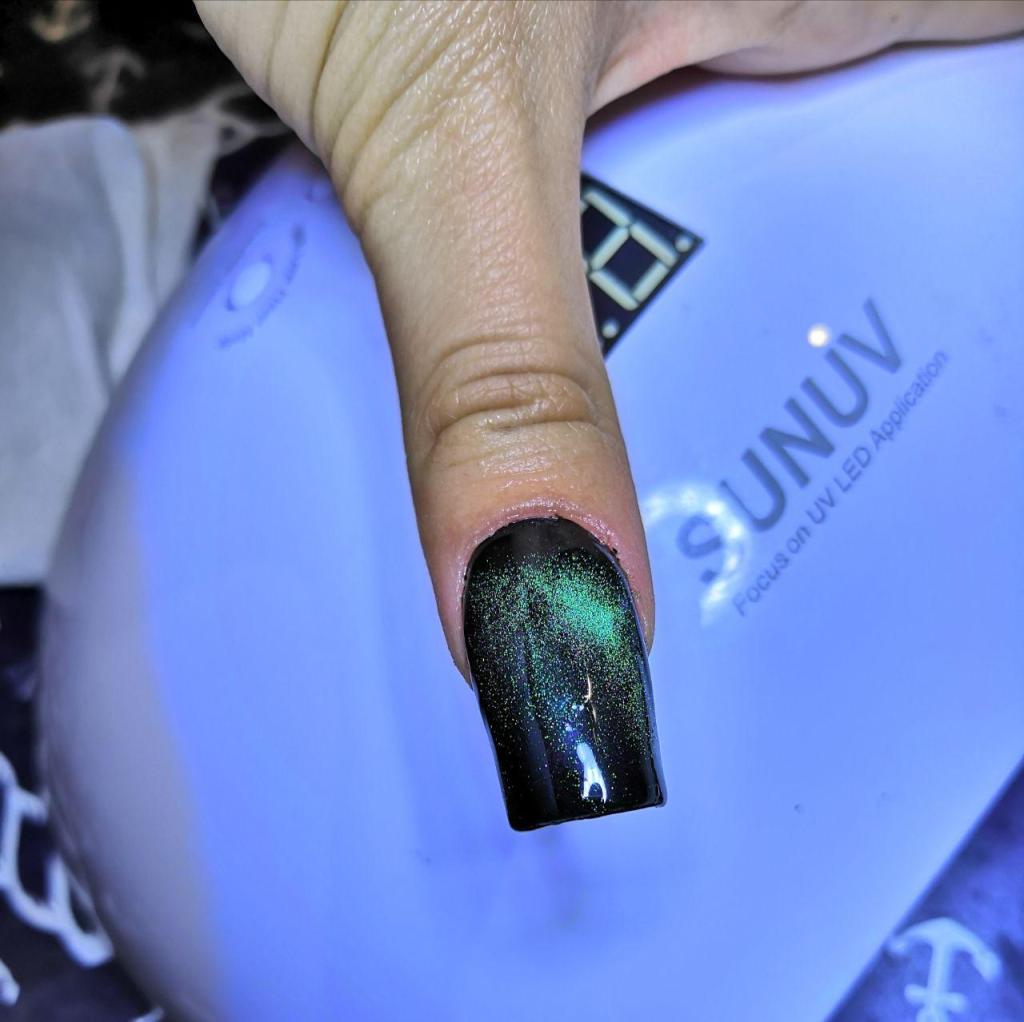
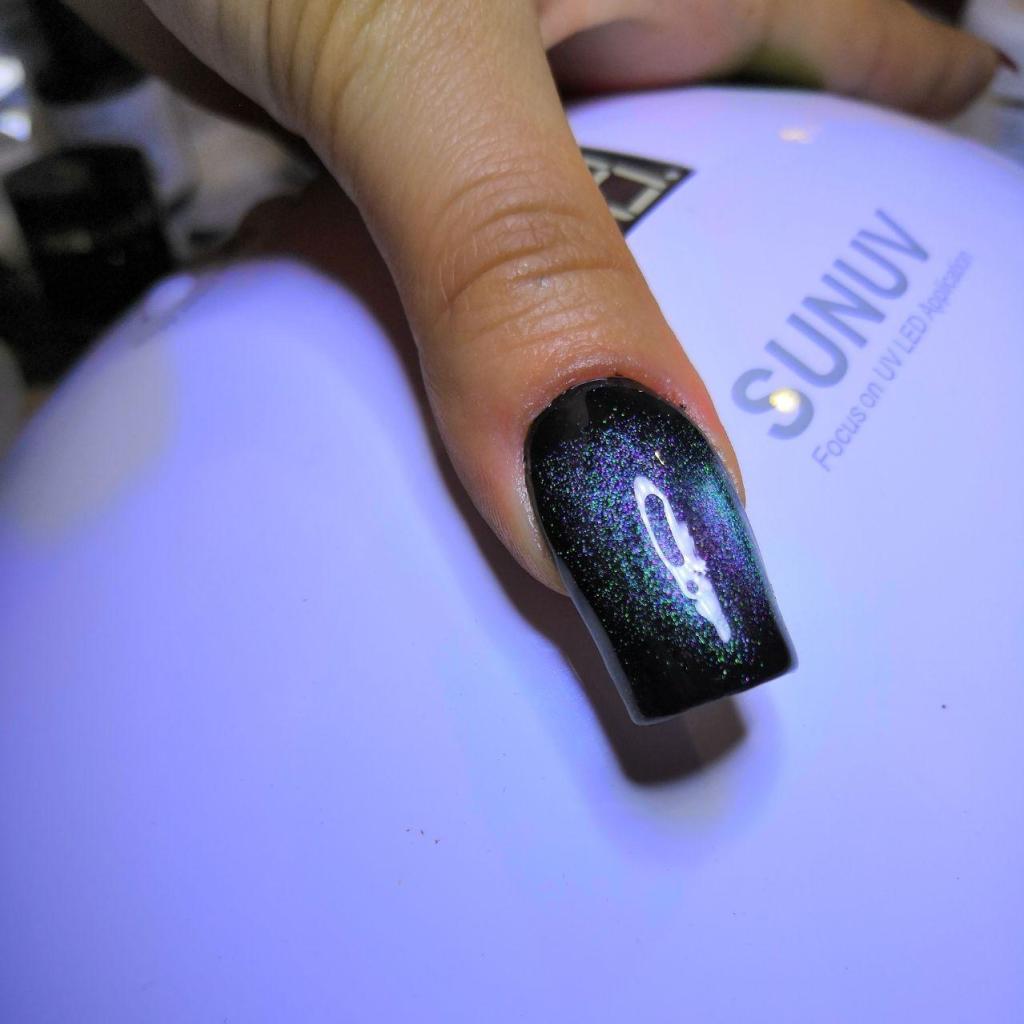
Voglio specificare che nessuna foto in questo articolo mi appartiene.

Spero sia stato interessante sapere la storia del mondo delle unghie.

Se questo articolo vi è piaciuto lasciate like e condividete.

Non dimenticate di seguirmi su Instagram e sul mio canale Youtube.

Alla prossima!

SOFIA

Nail art during the various decades: from the 1920s to the present day

Welcome back to a new article!

Today I want to talk to you about the various nail art and fashions that we have seen over the decades, from the birth of nail polishes and reconstruction products to the present day.

Let’s start!

20s

During this decade a product was invented that was used to polish natural nails.

You had to rub this powder on the nail with a piece of buckskin on the nail.

Colored nail polishes were also starting to appear, and the most common nail art in these roaring years was the Moon Manicure.

Just cover the entire nail with the desired color, leaving only one point uncovered, that is, the one where the lunula of the nail is located.

30s

During these years several cosmetic houses have started to emerge which have survived until today.

Their production therefore focused on colored nail polishes and makeup.

It was fashionable to combine lipstick with the color of the nails.

The varnishes with opaque formula began to make their way and the first false nails were invented.

As nail art we find the nails with an almond shape, with a thin line on the free edge, created with silver.

40s

During this decade two types of nail art are seen.

The actresses of the great cinema wore pretty long red and almond nails on their scenes.

Instead the common workers for convenience preferred to keep their nails short and with natural colors.

50s

From this period onwards there is a turning point in the world of nails.

Acrylic is formulated and the tips are invented, so that natural nail extensions can be performed.

As a nail art trend instead, you always stay on the almond and oval nail, with red-orange colors.

60s

Nail reconstruction is increasingly successful and many women want to take care of their nails.

Pearlescent and shimmer colors make their way, and the nails begin to have a more square shape, to have something different than usual.

70s

During these years the first light-curing products are designed but it will be necessary to wait until the 90s for the birth of the gels.

The famous French manicure is born.

This pinkish nail with white on the free edge is very versatile and suitable for all types of looks.

80s

These are the most colorful and eccentric years in terms of fashion, and nails also follow this example.

The favorite shape is the squoval, a mix between square and oval and obviously the most used colors are bright and fluorescent .

The pop singers of the moment were inspirational with their super flashy looks.

They also invent Press on nails, which are already decorated fake nails to be applied with an adhesive glue.

90’s

We are getting closer to our times.

As I said before, it is during these years that there will be a completion of the gel formula, and therefore it will be released on the market.

For nail art there are two prevailing trends.

The simplest are short nails with dark colors.

Instead the most extreme are reconstructed with the tips, very long, so much so that they tend to curve downwards, with whimsical decorations.

2000s

The decorations on the nails start to be various, such as foils, adhesives, nail polishes with particular formulations.

Hip hop style was followed a lot, and nails were becoming a way to express yourself.

Today

Today we really have a wide choice of products and colors to choose from.

Again there are two trends.

We have salon nails, therefore very simple, with a natural length that never get tired and combine with everyday life.

French has changed and instead of being so defined, it has become a nuance, taking the name of baby boomers.

On the other hand we also have nails of extreme length and shape, with very elaborate and sophisticated decorations.

Here we are at the end of this article.

I want to specify that I don’t own any right for the pictures on this article.

I hope it was interesting to know the history of the nail world.

If you liked this article, leave like and share it.

Don’t forget to follow me on Instagram and on my Youtube channel.

See you next time!

SOFIA

Gel effetto Cat Eye

Bentornati sul mio blog!

Oggi voglio parlarvi dei color gel effetto cat eye.

Iniziamo!

Cosa sono

Questi colori hanno una particolarità, contengono delle microparticelle magnetiche, che reagiscono se avviciniamo una calamita.

Esse si disporranno in diversi modi, che ora vi mostro, in base a come mettiamo la calamita.

Cat eye

Ci sono due tipi di gel color cat eye.

Il primo di cui parlo è quello che diciamo è gia di per sè un colore e non ha bisogno di una base nera sotto.

Avvicinando la calamita si crea una sfumatura più scura dello stesso colore.

Ora metto le foto in base a come si posiziona la calamita.

Verticale

Orizzontale

Diagonale

Calamita rotonda al centro

La bellezza di questi gel è che in base a come la luce li colpisce, in base a come muoviamo il dito assumeranno forme e colori differenti.

Cat eye 5D

Quest’altro tipo di gel segue lo stesso procedimento d’utilizzo di quelli di prima però in generale sono meno coprenti, quindi consiglio di applicare una base nera sotto.

Questi colori hanno al loro interno particelle di due colori diversi, quindi come dicevo prima, in base a come la luce li colpisce mostreranno colori diversi.

Anche qui vi mostro le foto dei vari effetti che si possono creare.

Verticale

Orizzontale

Diagonale

Calamita rotonda al centro

In aggiunta con i cat eye 5D si può creare un altro effetto.

Avvicinando la calamita ai bordi dell’unghia, si raggrupperanno tutte le particelle al centro, creando proprio come un occhio.

Ecco qua, vi piace questo effetto?

Se per caso il decoro creato con la calamita non vi piaccia, se non avete ancora catalizzato, potete semplicemente ripassare sul gel e tornerà come nuovo, e potrete creare di nuovo il decoro.

Sul mio canale Youtube ho realizzato un video dove vi mostro l’applicazione di questo prodotto, se volete potete guardarlo a questo link.

Io adoro questo effetto, spero piaccia anche a voi.

L’articolo di oggi è finito, spero vi sia stato utile.

Se vi è piaciuto lasciate like e condividete.

Inoltre seguitemi su Instagram e sul mio canale Youtube.

Alla prossima!

SOFIA

Cat eye gel colors

Welcome back to my blog!

Today I want to talk to you about cat eye color gels.

Let’s start!

What they are

These colors have a particularity, they contain magnetic microparticles, which react if we approach a magnet.

They will arrange themselves in different ways, which I now show you, based on how we put the magnet.

Cat eye

There are two types of cat eye color gels.

The first one I’m talking about is already a color in itself and doesn’t need a black base underneath.

Approaching the magnet creates a darker shade of the same color.

Now I put the photos according to how the magnet is positioned.

Vertical

Horizontal

Diagonal

Round magnet in the center

The beauty of these gels is that based on how the light hits them, on the basis of how we move the finger they will take on different shapes and colors.

Cat eye 5D

This other type of gel follows the same procedure of use as the first ones but in general they are less opaque, so I recommend applying a black base underneath.

These colors have particles of two different colors inside them, so as I said before, based on how the light hits them they will show different colors.

Here too I show you the photos of the various effects that can be created.

Vertical

Horizontal

Diagonal

Round magnet in the center

In addition, another effect can be created with 5D cat eyes.

By bringing the magnet closer to the edges of the nail, all the particles in the center will group together, creating just like an eye.

Here you go, do you like this effect? ​​

If by chance you don’t like the decoration created with the magnet, if you haven’t yet catalyzed it, you can simply go over the gel with the brush and it will come back as new, and you can create the decoration again.

On my Youtube channel I made a video where I show you the application of this product, if you want you can watch it at this link.

I love this effect, I hope you like it too.

Today’s article is finished, I hope it was useful.

If you liked it, leave like and share it.

Also follow me on Instagram and on my Youtube channel.

See you next time!

SOFIA

Che tipo di prodotto usare per ogni tipo di unghia

Bentornati sul mio blog!

Oggi voglio spiegarvi quali prodotti è meglio utilizzare su ogni tipo di unghia.

Se volete sapere che unghie esistono, vi lascio qui il link dell’articolo dove ne parlavo.

Iniziamo!

Unghie Sane

Per queste unghie che non presentano nessun tipo di problematica si può scegliere un gel qualsiasi, a piacere dell’operatrice.

Abbiamo la scelta tra un gel più flessibile e uno più rigido, inoltre anche la densità può essere più alta o più bassa.

Questo è possibile perchè l’unghia essendo elastica e resistente riuscirà a seguire il prodotto.

Unghie sottili

Per queste unghie, a volte anche molto fragili, è meglio usare gel più flessibili e porosi, in modo che riescano a seguire il naturale movimento della lamina, in modo da non causare sollevamenti.

E’ consigliata una media alta densità, in modo da poter lavorare il prodotto senza fretta.

Anche l‘acrygel è un ottimo prodotto per il trattamento di queste unghie.

Unghie onicofagiche

Queste unghie possono risultare più spesse o più sottili, ma in ogni caso è bene usare gel piuttosto rigidi, in modo che le persone non riusciranno a morderlo o romperlo.

Consiglio l’utilizzo di gel con al loro interno fibre di vetro, in modo da garantire una tenuta maggiore.

Unghie verso il basso

Sempre parlando in modo generale, questo tipo di unghie sono abbastanza robuste.

Siccome bisogna correggere il fatto che crescono verso il basso, dovremmo usare dei gel ad alta densità, in modo che ci permettano di creare uno spessore in punta.

Questi gel dovranno essere comunque elastici e porosi.

Unghie verso l’alto

Queste unghie sono sottili. C’è bisogno di gel ad alta densità, sono ottimi quelli tissotropici, che sono rigidi nel barattolo ma se li si lavorano si ammorbidiscono.

Anche in questo caso è ottimo usare gel elastici, perchè l’unghia crescendo verso l’alto farà pressione vicino al giro cuticole, causando possibili sollevamenti se non si utilizza un gel adatto.

Ecco qua, questa è la lista dei prodotti che consiglio usare, ovviamente ognuno può scegliere ciò che più preferisce!

Se questo articolo vi è piaciuto lasciate un like e condividete.

Non dimenticatevi di seguirmi su Instagram e sul mio canale youtube.

Alla prossima!

SOFIA

What type of product to use for each type of nail

Welcome back to my blog!

Today I want to explain which products are best to use on each type of nail.

If you want to know which nails exist, I leave you the link of the article where I was talking about it.

Let’s start!

Healthy Nails

For these nails that do not present any type of problem, you can choose any gel, as desired by the operator.

We have the choice between a more flexible and a more rigid gel, also the density can be higher or lower.

This is possible because the nail being elastic and resistant will be able to follow the product.

Thin nails

For these nails, sometimes even very fragile, it is better to use more flexible and porous gels, so that they can follow the natural movement of the surface, so as not to cause lifting.

A medium-high density is recommended, so that the product can be processed without haste.

Acrygel is also an excellent product for the treatment of these nails.

Onychophagic nails

These nails may be thicker or thinner, but in any case it is good to use rather stiff gels, so that people will not be able to bite or break it.

I recommend the use of gels with glass fibers inside them, in order to guarantee a better seal.

Nails that go down

Still speaking generally, these types of nails are quite robust.

Since we have to correct the fact that they grow downwards, we should use high density gels, so that they allow us to create a thickness on the tip.

These gels will still have to be elastic and porous.

Nails that go upwards

These nails are thin. There is a need for high density gels, thixotropic ones are excellent, which are stiff in the jar but if you work them they soften.

Also in this case it is excellent to use elastic gels, because the nail growing upwards will make pressure close to the cuticle, causing possible lifting if a suitable gel is not used.

Here is the list of products that I recommend to use, obviously everyone can choose what they prefer!

If you liked this article, leave a like and share.

Don’t forget to follow me on Instagram and on my youtube channel.

See you next time!

SOFIA

Come realizzare la french con il muretto

Come realizzare la french con il muretto

Ciao a tutti e bentornati sul mio blog.

Oggi voglio spiegarvi come si realizza un french con la tecnica muretto.

Se volete sapere quali tipi di french esistono vi invito a leggere questo articolo.

Iniziamo!

Preparazione dell’unghia

Come in ogni ricostruzione o copertura dell’unghia naturale bisogna prima occuparsi della preparazione dell’unghia.

Spingo le cuticole, rimuovo quelle attaccate alla lamina ungueale e opacizza l’unghia naturale.

Applico i preparatori quindi nail prep e primer. In caso di necessità applico anche il primer non acido.

Applico la base.

Allungamento

Dopo aver adattato nel migliore dei modi la cartina alla nostra unghia la inserisco e creo un allungamento della lunghezza e della forma che desideriamo.

L’importante è che sia molto sottile.

Muretto con cover rosa

Dopo aver rimosso la cartina ci occupiamo della allungamento del letto ungueale.

Questa tecnica si utilizza quando dobbiamo realizzare un french che è abbastanza lungo. Se immaginiamo di creare una lunghezza notevole su un unghia che ha un letto ungueale corto, il french risulterebbe sproporzionato.

Quindi con il cover rosa di un colore a nostra scelta possiamo allungare otticamente il letto ungueale.

Bisogna fare attenzione a scegliere un cover costruttore. Possibilmente consiglio di utilizzare uno che ha una densità abbastanza alta.

Stendo il primo strato a smalto in modo da uniformare il colore dell’unghia naturale e aiutarmi nella stesura e lavorazione del prodotto successivo.

Prelevo una quantità abbastanza abbondante di gel rosa e lo applico dove voglio che finisca è il mio letto ungueale.
Lo lavoro creando una linea del sorriso è abbastanza profonda e allungata.

Volendo posso già iniziare a creare un po’ di bombatura. Non è un problema si potrebbe anche scegliere di stenderlo vicino al giro cuticole abbastanza sottile e poi ricreare in seguito con un Builder trasparente la bombatura.

Il prodotto deve essere abbastanza spesso sul sorriso.

Limatura muretto

Una volta che abbiamo catalizzato e sgrassato passiamo alla limatura del muretto muretto.

Con una lima posizionata parallela al prodotto iniziamo a definirci in modo preciso la linea del sorriso in modo che poi applicando il colore e sa risulterà ben dritta.

Inoltre se ne ho bisogno limo anche la superficie del muretto uniformando il prodotto su tutta l’unghia.

Colore

Abbiamo quindi creato uno spazio vuoto per applicare il colore a nostra scelta.

Abbiamo varie alternative.

Si può utilizzare un costruttore bianco, un gel color o un semipermanente oppure volendo dei glitter.

Il mio caso vi spiegherò quei glitter ma il procedimento è lo stesso.

Con un pennellino sottile vado applicare sulla linea del sorriso il colore in modo pieno.

Senza prelevare altro colore con il pennellino ancora sporco sfumo quel che è già presente verso il margine libero.

Catalizzo il colore e applico uno strato leggero di Top Coat in modo da creare una superficie appiccicosa.
Scelgo i glitter di colore, forma e grandezza a mia scelta.

Li applico nel modo che preferisco e poi catalizzo.

Completamento struttura

Dopo di ciò dobbiamo andare a riempire il vuoto che si è creato tra il muretto e l’allungamento.

Utilizzo un costruttore trasparente.

Fate bene attenzione a non utilizzare quelli ad esempio con le fibre di vetro all’interno perché non saranno completamente trasparenti.

Vado quindi ad applicarlo dove manca il prodotto per livellare la superficie e nel caso in cui mancasse creo la bombatura.

Limatura e top coat

Limo quindi la superficie che è stata creata secondo le regole della forma che abbiamo scelto.

Infine applico il top coat.

Ecco qua il risultato della mia french con tecnica a muretto.

Vi piace?

Se volete vedere realizzato questo unghia potete andare a guardare l’ultimo video sul mio canale youtube.

Vi lascio qui il link.

Se questo articolo Vi è piaciuto lasciate un like e condividete.

Non dimenticatevi di seguirmi su Instagram sul mio canale youtube.

Alla prossima!

SOFIA

How to make deep French

Hello everyone and welcome back to my blog.

Today I want to explain how a French is made with the wall technique.

If you want to know what types of French exist, I invite you to read this article.

Let’s begin!

Nail preparation

As in any nail reconstruction, you must first deal with the preparation of the nail.

I push the cuticles, remove those attached to the nail plate and mattify the natural nail.

I apply the nail prep and primer. If necessary, I also apply the non-acid primer.

I apply the base.

Length

After adapting the nail form in the best way, we attach it to our nail and create an extension of the length and shape we want.

The important thing is that it is very thin.

Wall with pink cover

After removing the nail form we take care of the lengthening of the nail bed.

This technique is used when we have to make a french that is long enough. If we imagine to create a considerable length on a nail that has a short nail bed, the French would be disproportionate.

So with the pink cover of a color of our choice we can optically lengthen the nail bed.

I possibly recommend using a gel that has a fairly high density.

I spread the first in a thin layer in order to uniform the color of the natural nail and help me in the drafting and processing of the next product.

I take a fairly large amount of pink gel and apply it where I want it to end is my nail bed.
Create a smile line quite deep and elongated.

If you want, I can already start creating a little apex. It is not a problem you could also choose to spread it close to the cuticle quite thin and then recreate the apex later with a transparent Builder.

The product must be thick on the smile line.

Wall filing

Once we have catalyzed we move on to the filing of the wall.

With a file positioned parallel to the product we begin to define precisely the smile line so that when applying the color it will result straight.

In addition, if I need it, I also file the surface of the wall by uniforming the product on the entire nail.

Color

We therefore created an empty space to apply the color of our choice.

We have various alternatives.

You can use a white builder you can use a color gel or a gel polish, or use glitter.

In my case I will explain those glitter but the procedure is the same.

With a thin brush I go to apply fully the color on the smile line.

Without taking other color with the brush still dirty I blend what is already present towards the free margin.

I catalyze the color and apply a light layer of Top Coat to create a sticky surface.
I choose the color, shape and size glitter of my choice.

I apply them in the way I prefer and then I catalyze.

Completion of the structure

After this we must go to fill the void that has been created between the wall and the nail.

I use a transparent builder.

Be careful not to use those with glass fibers inside for example because they will not be completely transparent.

I then go to apply it where there is no product to level the surface and in case it is missing I create the apex.

Filing and top coat

I file then the surface that was created according to the rules of the shape we have chosen.

Finally I apply the top coat.

Here is the result of my french with wall technique.

Do you like it?

If you want to see this nail made you can go to watch the latest video on my youtube channel.

I’ll leave the link here.

If you liked this article, leave a like and share.

Don’t forget to follow me on Instagram on my youtube channel.

See you next time!

SOFIA

Come realizzare fiori 3D

Bentornati Sul mio blog.

Oggi voglio spiegarvi come potete realizzare in modo facile e veloce dei fiori in 3D senza utilizzare l’acrilico.


Spesso si utilizza l’acrilico Perché col fatto che polimerizza all’aria è più facile gestire il prodotto, ma oggi vi farò vedere come poterlo fare con la plastilina e l’acrygel.


Iniziamo!

Plastilina

Per realizzare questa rosa con la plastilina ho scelto di utilizzare quella colorata di rosa. Esistono in commercio vari colori potete scegliere voi quali preferite. Oppure potete sceglierne uno neutrale e poi colorare la rosa.

Per realizzare la rosa utilizzo il retro di una cartina, potete usare anche la cartina stessa.

Inizio realizzando il pistillo.


Con un dotter prelevo una piccola quantità di prodotto e la appoggio sul pezzo di carta. Dopodiché con un pennello imbevuto di cleaner modello la plastilina in modo da formare un pistillo.

Lo polimerizzo.

Dopodiché prelevo un’altra quantità, un po’ più abbondante di prodotto e la appoggio sul pezzo di carta. Con il cleaner e il pennello la appiattisco in una forma abbastanza rotonda.

Faccio polimerizzare per circa 5 secondi e dopodiché tiro fuori il prodotto dalla lampada.
In questo momento è ancora molto morbido ma non troppo.
Con un pennello sollevo i lembi del cerchio in modo da cercare di unirli alla base formando una specie di triangolo è in questo modo si vedrà come si forma il petalo.

Una volta che ho finito di modellarla, la sollevo delicatamente, mi aiuto con una pinza per reggere il prodotto e la metto in lampada.

Ripeto lo stesso procedimento.
Una volta che però ho modellato i lembi del cerchio sollevo il prodotto e lo faccio polimerizzare insieme a petalo già creato. Li unisco alla base, aiutandomi con una pinzetta, e li lascio polimerizzare in quella posizione.

Quindi continuo così finché sono soddisfatta del fiore realizzato.

Per attaccare il fiore sull’unghia utilizzo del Poligel trasparente.
Ne applico una piccola quantità dove desidero che il fiore stia e in seguito ci appoggio la rosa. Lascio polimerizzare.

Quindi eseguo lo stesso procedimento con l’acrygel.

Acrygel

C’è poca differenza tra i due materiali, ho comunque deciso di realizzare una rosa diversa con l’acrygel.

Ecco il risultato.

Si presentano così a confronto.

Se volete vedere in pratica tutte le cose che ho spiegato adesso, potete andare a vedere il mio ultimo video su YouTube.
Nella sfida che realizzo, creò anche delle rose con l’acrygel.

L’articolo di oggi è finito. Spero che sia stato utile.


Se vi è piaciuto lasciate un like e condividete.


Non dimenticatevi di seguirmi su Instagram e sul mio canale YouTube.

Alla prossima!

SOFIA

How to create 3D flowers

Welcome back On my blog.

Today I want to explain how you can make 3D flowers quickly and easily without using acrylic.


Acrylic is often used because with the fact that it polymerizes in the air it is easier to manage the product, but today I will show you how to do it with plasticine and acrygel.


Let’s begin!

Plasticine

To make this rose with plasticine I chose to use the rose colored one. There are various colors on the market, you can choose which ones you prefer. Or you can choose a neutral one and then color the rose.

To create the rose I use the back of a nail form, you can also use the nailform itself.

I start by making the pistil.
With a dotter I take a small amount of product and place it on the piece of paper. Then with a brush soaked in cleaner model the plasticine so as to form a pistil.

Then I take another quantity, a little more abundant of product and place it on the piece of paper. With the cleaner and the brush I flatten it in a fairly round shape.

I let it cure for about 5 seconds and then I take the product out of the lamp.
At the moment it is still very soft but not too soft.
With a brush I lift the edges of the circle so as to try to join them to the base forming a kind of triangle and in this way you will see how the petal is formed.

Once I have finished modeling it, I gently lift it, use a pair of pliers to hold the product and put it on the lamp.

I repeat the same procedure.
Once I have modeled the edges of the circle, I lift the product and polymerize it together with the petal already created. I join them to the base, helping myself with tweezers, and let them cure in that position.

So I continue like this until I am satisfied with the flower made.

To attach the flower to the nail, use transparent Poligel.
I apply a small amount where I want the flower to stay and then I support the rose. I let it cure.

Acrygel

So I carry out the same procedure with the acrygel.

There is little difference between the two materials, however I decided to make a different rose with acrygel.

Here is the difference between acrygel and plasticine.

If you want to see practically all the things I have explained now, you can go and see my latest video on YouTube.
In the challenge I realize, he also created roses with acrygel.

Today’s article is finished. I hope it was useful.
If you liked it, leave a like and share.
Don’t forget to follow me on Instagram and on my YouTube channel.

See you next time!

SOFIA