Why is it important to remove lifts?

Welcome back to a new article!

I recently talked about why lifts are created and how to avoid having them.

Today I want to talk about the importance of removing them.

Let’s start!

Aesthetics

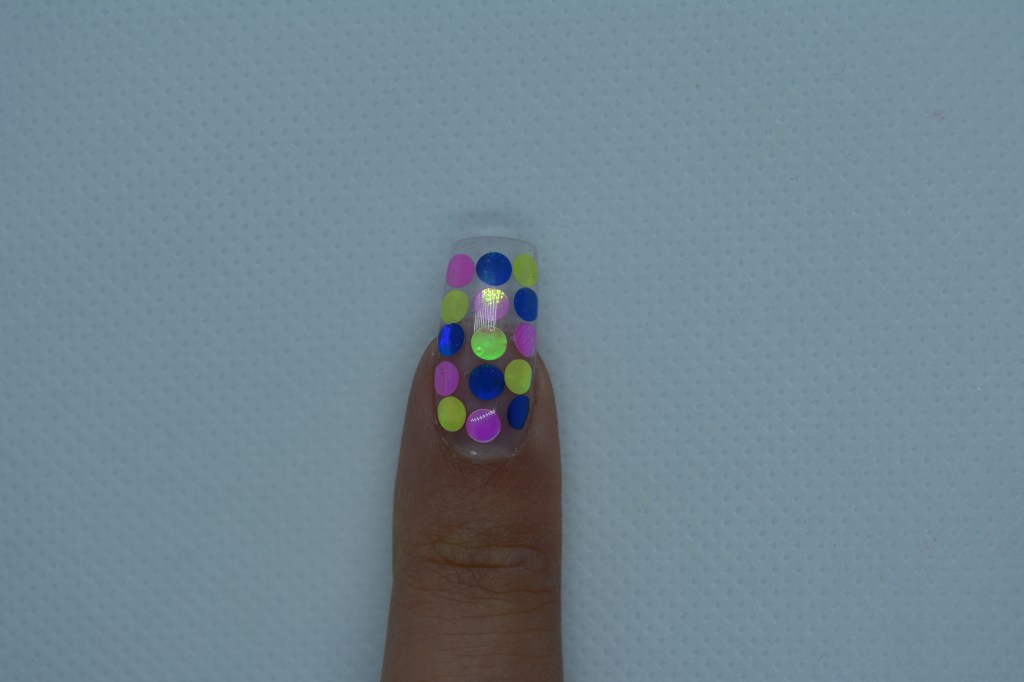
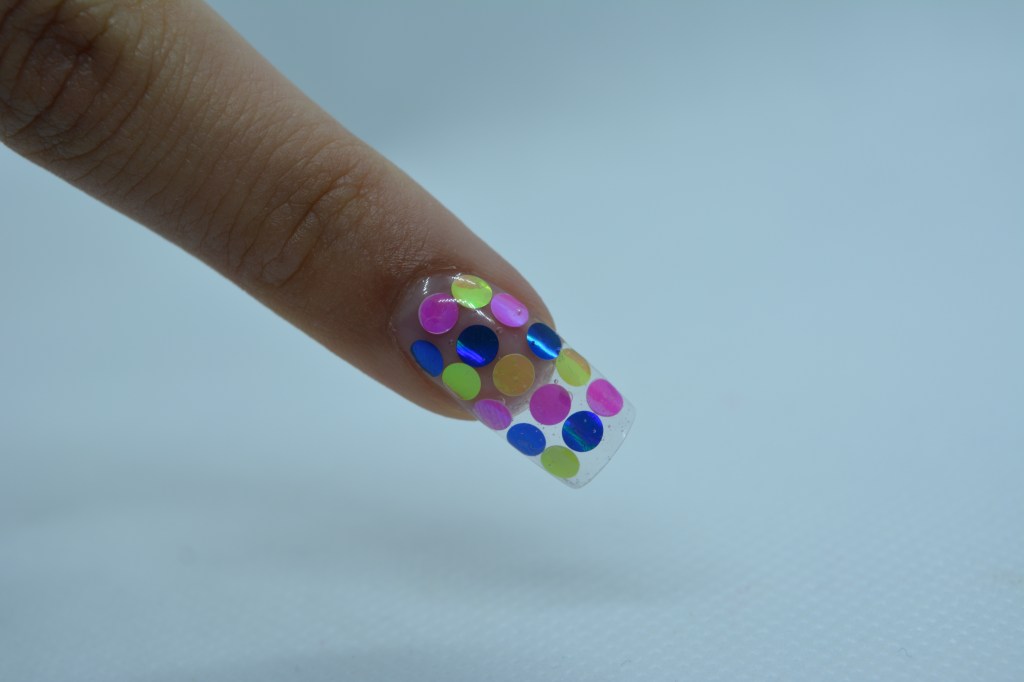
Let’s say that our reconstruction was created with a clear and during this refill we don’t want to apply the color.

Once the old one is removed, you will find that you have created a bubble between product and nail.

If we ignore it, and decide not to remove it, covering the new portion of nail with the transparent gel, we will see that unsightly white patch.

If we want to do a well done job, especially on an aesthetic level, it is good to remove all the whitish halos of the lifts.

Other lifts

We always assume that you have removed the color from a reconstruction and first noticed, and then ignored a lift.

So we decide to apply new product in the new nail, above that bubble.

Since at that point the product is detached from the nail, if by chance a shot is taken, that portion already raised, would also detach the new product from the nail, which has also been applied for a few days.

To avoid this happening, it is good to remove all bubbles, in order not to compromise the life of the product.

Bacteria and Mycosis

I think this is the most important reason among the three.

Between the nail and the product, if there is the right adherence, nothing can enter.

However, if a lifting occurs, it could happen that due to the humidity that is created and all the microparticles that are going to fit underneath, they could lead to a nail disease.

We know very well that mycosis and bacteria lurk in the dust and would be very serious if they were deposited on the nail.

If you ignore a lift, covering it in turn in a refill, below it would create the ideal environment for the proliferation of mycosis and bacteria.

In this case, most of all, it is very important to remove the raised product, paying close attention, to avoid possible diseases.

These are the main reasons for removing a lift from a reconstruction.

I recommend, if you liked the article, it was useful to leave a like and share.

Follow me on instagram!

See you soon!

SOFIA

Perchè è importante rimuovere i sollevamenti?

Bentornati su un nuovo articolo!

Recentemente ho parlato del perchè i sollevamenti si creano e come evitare di averli.

Oggi voglio invece parlarvi dell’importanza che ha rimuoverli.

Iniziamo!

Estetica

Mettiamo caso che la nostra ricostruzione è stata creata con un clear e durante questo refill non vogliamo applicare il colore.

Una volta tolto quello vecchio dunque si scoprirà di aver creato una bolla tra prodotto e unghia.

Se lo ignoreremo, e decidiamo di non levarlo, ricoprendo la nuova porzione di unghia con il gel trasparente, vedremo quella antiestetica chiazza bianca.

Se vogliamo fare un lavoro ben fatto, soprattutto a livello estetico, è bene rimuovere tutti gli aloni biancastri dei sollevamenti.

Altri sollevamenti

Ipotizziamo sempre di aver rimosso il colore da una ricostruzione e aver prima notato, e poi ignorato un sollevamento.

Decidiamo così di applicare nuovo prodotto nell’unghia nuova, al di sopra di quella bolla.

Siccome in quel punto il prodotto è staccato dall’unghia, se per caso si prendessa un colpo, quella porzione già sollevata, farebbe distaccare dall’unghia anche il nuovo prodotto, applicato anche da pochi giorni.

Per evitare dunque che questo si verifichi è bene rimuovere tutte le bolle, per non compromettere la durata del prodotto.

Batteri e Funghi

Questo penso sia il motivo più importante tra i tre.

Tra l’unghia e il prodotto, se c’è la giusta aderenza, niente può entrare.

Se però si verifica un sollevamento, potrebbe succedere che a causa dell’umidità che si viene a creare e tutte le microparticelle che si vanno ad incastrare là sotto, potrebbero portare ad una malattia dell’unghia.

Sappiamo molto bene che i funghi e i batteri si annidano nella polvere e sarebbe molto grave se si depositassero sull’unghia.

Se si ignora un sollevamento, ricoprendolo a sua volta in un refill, al di sotto di esso si creerebbe l’ambiente ideale per la proliferazione di funghi e batteri.

In questo caso più di tutti è importantissimo rimuovere il prodotto sollevato, prestando molto attenzione, per scongiurare possibili malattie.

Questi sono i motivi principali per rimuovere un sollevamento da una ricostruzione.

Mi raccomando,se l’articolo vi è piaciuto e stato utile lasciate un like e condividete.

Seguitemi pure su instagram!

Alla prossima!

SOFIA

Nail art created with Plastigel

Welcome back to my blog!

Today I want to show you various things that can be done with plasticine in gel.

Let’s start!

How to work it

Let’s start by briefly explaining how to work.

After taking the plasticine with a dotter , lightly warming it with the fingertips, rests it on the nail.

Later with a brush soaked in cleaner , you can start working it.

Don’t worry, if you don’t understand, you can go to my Youtube channel , where I show how I make three of these nail art!

Flower

The easiest thing to do is a flower.

On a rose gold base, I created this flower in relief , intentionally a little more thick, so that his figure stands out.

Later I decided to color it with these bright colors.

In the center I also applied rhinestones, to create a light point.

Quilt

Yes, you read that right. 😂

With plasticine, which is soft to work with, and does not dry until it goes into the lamp, this effect can be achieved.

After creating a uniform layer of plasticine over the entire nail, with a sewing thread I created the crossings , which reminds a blanket.

To embellish it all I decided to put microspheres where x were created.

You want to see it done, I leave the video link here.

Calla

As I said before, the most immediate thing you can do is flowers.

I decided to create a delicate calla, white on a bright red background.

I also made the stem, so that it made sense.

I worked in the usual way the plasticine, I colored it and to resume the white of the flower, I made some decorations in the background.

I leave the video link here too.

Flowers

This time I made three flowers on the same nail and in a different way.

To get different flowers, I changed the verse of plasticine making.

Depending on what I wanted to create, I used to press with the brush in different directions.

I sealed it all, applied the rhinestones in the center and even here to embellish the background I made decorations with white.

Last video I made of this series, here to see it.

So this is all for today’s article, I hope you liked my ideas and helped you understand how they come about.

If you liked the article, leave a like and share.

If you want to see more, follow me on instagram and Youtube, see you soon!

SOFIA

Nail art realizzate con Plastilina in Gel

Bentornati sul mio blog!

Oggi voglio mostrarvi varie cose che si possono realizzare con la plastilina in gel.

Iniziamo!

Come lavorarla

Iniziamo spiegando brevemente come si lavora.

Dopo aver prelevato con un dotter la plastilina, riscaldandola leggermente con i polpastrelli, la si appoggia sull’unghia.

In seguito con un pennello imbevuto di cleaner, si inizia a lavorare.

Non preoccupatevi, se non avete capito potete andare sul mio canale Youtube, dove mostro come realizzo tre di queste nail art!

Fiore

La cosa più facile da realizzare è un fiore.

Su una base oro rosa, ho creato questo fiore in rilievo, volutamente un po’ più spesso, in modo che risaltasse la sua figura.

In seguito ho deciso di colorarlo con questi colori accesi.

Al centro ho applicato anche uno strass, per creare un punto luce.

Trapunta

Si, avete letto bene.😂

Con la plastilina, che è morbida da lavorare, e non si asciuga finchè non entra in lampada, si può realizzare questo effetto.

Dopo aver creato uno strato uniforme di plastilina su tutta l’unghia, con un filo da cucito ho creato gli incorci, che ricordano una coperta.

Per abbellire il tutto ho deciso di mettere delle microsfere dove si creavano le x.

Volete vederla realizzata, vi lascio qui il link del video.

Calla

Come ho già detto prima la cosa più immediata che si può realizzare sono i fiori.

Ho deciso di creare una delicata calla, bianca e candida su uno sfondo rosso acceso.

Ho realizzato anche il gambo, in modo che avesse un senso, seza fare solamente il calice del fiore.

Ho lavorato al solito modo la plastilina, l’ho colorata e per riprendere il bianco del fiore, ho realizzato delle decorazioni sullo sfondo.

Anche di questo vi lascio qui il link del video.

Fiori

Questa volta ne ho realizzati tre su una stessa unghia e in modo differente.

Per ottenere diversi fiori, ho cambiato il verso di lavorazione della plastilina.

A seconda di ciò che volevo creare, facevo pressione con il pennello o verso l’interno o verso l’esterno.

Ho sigillato il tutto, applicato gli strass al centro e anche qui per abbellire lo sfondo ho fatto delle decorazioni col bianco.

Ultimo video che ho realizzato di questa serie, qui dove vederlo.

Quindi questo è tutto per l’articolo di oggi, spero che le mie idee vi siano piaciute e vi abbiano aiutato a capire come si realizzano.

Se l’articolo vi è piaciuto, lasciate un like e condividete.

Se volete vedere altro, seguitemi su instagram e Youtube, alla prossima!

SOFIA

How to avoid lifting in a reconstruction

Welcome back to my blog!

Today I want to talk to you about something quite important if we perform nail reconstructions: How to avoid lifting.

Let’s start!

What is a lifting

I start by explaining what lifts are.

As the word suggests, they are lifts that are created between natural nail and product , which can be gel, acrylic or acrigel.

They are recognized for their whitish appearance, as if they were a bubble.

Nail preparation

One of the first phases of a reconstruction is the preparation of the nail plate.

During this process we must pay close attention to how we prepare the nail because most of the time the product is raised is due to a poor nail preparation.

It is very important to push back all the cuticles and eliminate them as best as possible . If the product encounters cuticles, at that point it is very likely to rise.

Furthermore, the surface must be well matted and apply carefully all the preparers : Nail prep, primer and binder.

All these steps are used to create an uneven surface to which the product can cling better, without causing lifting.

Base

As you know, there are various types of gel, including monophasic and three-phase.

Using the monophasic ones, I found almost always product lifts. This is because a product that does everything in one, will be less effective than one designed for its purpose.

For this reason I recommend using a base below your builder , both monophasic and triphasic. This product in addition will further improve the tightness of the product.

Precise application

Another very important thing is the attention paid during the application.

Especially when bulging is created, you need to get as close as possible to cuticles, without ever touching the skin.

If you touch the skin, it’s almost certain that over time, at that point, will create a bubble.

These are the most important things, but obviously during the reconstruction we must avoid going the dust on the nail, or avoid touching it with the fingertip, always for do not alter the prepared structure to accommodate only the gel and prevent it from lifting.

These are the tips to avoid creating lifts. I left out the question of why it is important to remove them once created, but I will soon talk about it in a new article.

If you liked it, leave a like and share and see you soon!

SOFIA

Come evitare i sollevamenti in una ricostruzione

Bentornati sul mio blog!

Oggi voglio parlarvi di una cosa abbastanza importante se eseguiamo ricostruzioni unghie: Come evitare i sollevamenti.

Iniziamo!

Cosa sono

Parto spiegando cosa sono i sollevamenti.

Come suggerisce la parola, sono dei sollevamenti che si creano tra unghia naturale e prodotto, che può essere gel, acrilico o acrigel.

Li si riconoscono per il loro aspetto biancastro, come se fossero una bolla.

Preparazione dell’unghia

Una delle prime fasi di una ricostruzione è la preparazione della lamina ungueale.

Durante questo processo dobbiamo prestare molto attenzione a come prepariamo l’unghia perché la maggior parte delle volte in cui il prodotto si solleva è a causa di una scarsa preparazione delle unghie.

E’ molto importante spingere indietro tutte le cuticole ed eliminarle il meglio possibile. Se il prodotto incontrasse delle cuticole, in quel punto è molto probabile che si sollevi.

Inoltre bisogna opacizzare bene tutta la superficie e applicare accuratamente tutti i preparatori: Nail prep, primer e binder.

Tutti questi passaggi servono a creare una superficie irregolare a cui il prodotto può aggrapparsi meglio, senza causare sollevamenti.

Base

Come sapete esistono vari tipi di gel, tra cui monofasici e trifasici.

Utilizzando quelli monofasici, ho riscontrato quasi sempre sollevamenti del prodotto. Questo perchè un prodotto che fa tutto in uno, risulterà meno efficace di uno studiato apposta per il suo compito.

Per questo vi consiglio l’utilizzo di una base al di sotto del vostro costruttore, sia monofasico che trifasico. Questo prodotto in più migliorerà ulteriormente la tenuta del prodotto.

Applicazione precisa

Un’altra cosa molto importante è l’attenzione prestata durante l’applicazione.

Soprattutto quando si crea la bombatura, bisogna avvicinarsi il più possibile al girocuticole, senza però mai toccare la pelle.

Se si tocca la pelle, è quasi certo che con il tempo in quel punto si creerà una bolla.

Queste sono le cose più importanti, però ovviamente durante la ricostruzione bisogna evitare di far andare la polvere sull’unghia, oppure evitare di toccarla con il polpastrello, sempre per non alterare la struttura preparata per accogliere solamente il gel ed evitare che si sollevi.

Queste sono le dritte per evitare di creare sollevamenti. Ho tralasciato il discorso del perchè è importante rimuoverli una volta creati, ma lo affronterò presto in un nuovo articolo.

Se vi è piaciuto, lasciate un like e condividete e alla prossima!

SOFIA

Under-glass effect Nail Art

Welcome back to my blog!

Today I want to show you possible nail art that can be created under glass.

Let’s start!

Under glass effect

As I had already explained in this article , the glass technique consists in creating a decoration below the apex.

Generally, to make this we use clear builders, so that we can perceive the depth of the decorations we have chosen.

Feather

In this nail I decided to create a deep and inverse french. In the bezel I applied a white color so that the blue color of the feather could stand out.

I then added some glitter, sealed it all with a transparent builder and added the final details.

Glitter

I propose this design again.

On a ballerina shape, I applied several types of glitter , but also colored rods . You may also notice the difference in depth between the various layers, which is what makes this style beautiful.

Confetti

The round shape of these decorations makes them look like confetti.

Here on a square shape, I applied the confetti following an order.

On my instagram you will see the mini-video where I polish this design, letting the beauty of these dots come out.

Gold leaf

On this important form, which is the stiletto, I applied below the apex the golden leaves, also in silver color.

These are the ideas I wanted to offer you today, if you follow me on instagram you will find my other works.

Today’s article ends here, I hope you enjoyed it and see you soon!

SOFIA

Nail Art effetto sottovetro

Bentornati sul mio blog!

Oggi voglio illustrarvi possibili nail art che si possono creare sottovetro.

Iniziamo!

Sottovetro

Come già avevo spiegato in questo articolo, la tecnica sottovetro consiste nel creare un decoro al di sotto della bombatura.

In genere per fare ciò si utilizzano dei builder clear, in modo che si possa percepire la profondità delle decorazioni da noi scelte.

Piuma

In questa unghia ho deciso di creare una french profonda e inversa. Nella lunetta ho applicato un colore bianco in modo che il colore azzurro della piuma potesse risaltare.

Ho poi aggiunto dei glitter, sigillato il tutto con un costruttore trasparente e aggiunto i dettagli finali.

Glitter

Ripropongo questo design.

Su una forma a ballerina, ho applicato parecchie tipologie di glitter, ma anche dei tondini colorati. Si può anche notare la differenza di profondità tra i vari strati, ed è ciò che rende bello questo stile.

Coriandoli

La forma tonda di queste decorazioni le fa assomigliare a dei coriandoli.

Qui su una forma squadrata, ho applicato seguendo un ordine i coriandoli.

Sul mio instagram potrete vedere il mini-video dove lucido questo design, facendo uscire la bellezza di questi pallini.

Foglia d’oro

Su quest’importante forma, che è lo stiletto, ho applicato al di sotto della bombatura delle foglie d’oro, anche in colorazione argentata.

Queste sono le idee che ho voluto proporvi oggi, se mi seguite su instagram troverete altri miei lavori.

L’articolo di oggi finisce qui, spero che vi sia piaciuto e alla prossima!

SOFIA

Other hacks and tricks for nails

Welcome back!

Today I want to talk about other hacks for nails, I leave you here the link of those of the last time.

Let’s start!

Spider gel

A novelty has recently come out, the spider gel.

This gel, as the name suggests, has a particular consistency, very thick and filamentous, like that of a spider web.

Using a dotter, dipping it in the jar, you can create straight lines or very beautiful and fast decorations.

If you have any doubts about how it works, on youtube will surely find many videos about it.

Thinking about this gel, I was reminded of something I already saw and then I realized what it was.

The simple polish, if left to dry in the open air, becomes almost sticky.

I then thought that the same effect could be achieved using polishes.

Just put some nail polish on a surface and wait a few minutes.

Later with a dotter you can pick it up and here is your favorite spider gel!

I made a video where I use this technique, I leave the link here.

Water Decal

Water decals are very thin nail stickers that work like tattoos for children.

Many companies recommend dipping them in water for a few seconds and then removing them from their paper and placing them on the nail.

Using them in this way, however, I noticed that they remain wet, which could prevent proper adhesion on the nail.

My advice is to wet a pad with water and then cover and put the water decal in contact with it. It will become damp, it will detach from its paper, without however being wet.

DIY Dotter

When I was younger I used a lot polishes but I needed the dotters to make decorations. At the time online shopping was not so widespread and not all stores had them.

I had thus found an alternative, which I could make myself at home.

The equipment is a pencil with the rubber on top and the pins for tailors, those with the colored head.

Everything is very simple: just stick the pin in the pencil’s rubber and here is your dotter! 😁

These were the other tricks that came to my mind, I hope they will serve you and like you.

If you liked this article, leave a like and share it!

SOFIA

Altri trucchetti per le unghie

Bentornati!

Oggi voglio parlarvi di altri truchetti per le unghie, vi lascio qua il link di quelli dell’altra volta.

Iniziamo!

Spider gel

Da poco tempo è uscita una novità, lo spider gel.

Questo gel come suggerisce il nome (spider in inglese è ragno) ha una consistenza particolare, molto densa e filamentosa, come quella di una ragnatela.

Utilizzando un dotter, immergendolo nel barattolino, si possono creare delle linee dritte, o comunque decori molto belli e veloci.

Se avete dei dubbi su come funziona, cercando su youtube troverete di sicuro molti video a riguardo.

Pensando a questo gel, mi veniva in mente un qualcosa di già visto e poi ho capito cosa fosse.

Il semplice smalto, se lasciato troppo all’aria aperta, secca, diventa quasi colloso.

Allora ho pensato che si potesse realizzare lo stesso effetto utilizzando lo smalto.

Basta appoggiare dello smalto su una superficie e attendere qualche minuto.

In seguito con un dotter lo si può prelevare ed ecco creato il vostro spider gel preferito!

Ho realizzato un video dove vi mostro come ho fatto, vi lascio qui il link.

Water Decal

I water decal sono degli adesivi per le unghie, molto sottili che funzionano come i tatuaggi per i bambini.

Molte aziende consigliano di immergerli per qualche secondo nell’acqua e poi rimuoverli dalla loro carta e adagiarli sull’unghia.

Utilizzandoli in questo modo ho però notato che rimangono come bagnati, e ciò potrebbe impedire una corretta adesione sull’unghia.

Il mio consiglio è quello di inumidire un pad con dell’acqua e poi coprire e mettere a contatto con esso il water decal. Esso si inumidirà, staccherà dalla sua carta, senza però risultare bagnato.

Dotter fai da te

Quando ero più piccola usavo moltissimo gli smalti normali solo che avevo bisogno dei dotter per creare delle decorazioni. Ai tempi lo shopping online non era così diffuso e non tutti i negozi li avevano.

Avevo così trovato un’alternativa, che potevo realizzare da sola a casa.

L’occorrente è una matita con la gommina sopra e i spilli per sarti, quelli con la capocchia colorata.

Il tutto è semplicissimo: basta incastrare lo spillo nella gomma della matita ed ecco fatto il vostro dotter!😁

Questi erano gli altri trucchetti che mi sono venuti in mente, spero vi serviranno e vi siano piaciuti.

Se questo articolo vi è piaciuto lasciate un like e condividete.

Non dimenticate di seguirmi su Instagram e sul mio canale YouTube!

Alla prossima!

SOFIA